Your Start in the B.One Community – Areas & Functions at a Glance
Last modified on 11th April, 2024
Have you registered as a new member here in the B.One Community, but still don’t have an overview of where to find what and which functions are available to you? Then we will bring light into the darkness with this article.
We give you an overview of where you can find the different areas of our Community and which functions you can use there. Would you like to jump directly to a specific area? Then simply click on the appropriate point in the following overview:
- Navigation
- Dashboard
- My Profile
- Blog
- Communities
- Forums
- Members
- Direct Access IoT Applications
- Help
- My Account
- Messages & Notifications
- Search
- Homepage
Are you still wondering what the B.One Community is all about and what it has to do with tools like the B.One Gallery or the ZENNER Datahub? Then it is worth taking a look at the article “ZENNER Datahub, ZENNERShop, B.One Gallery & Community – Context“.
1.Navigation
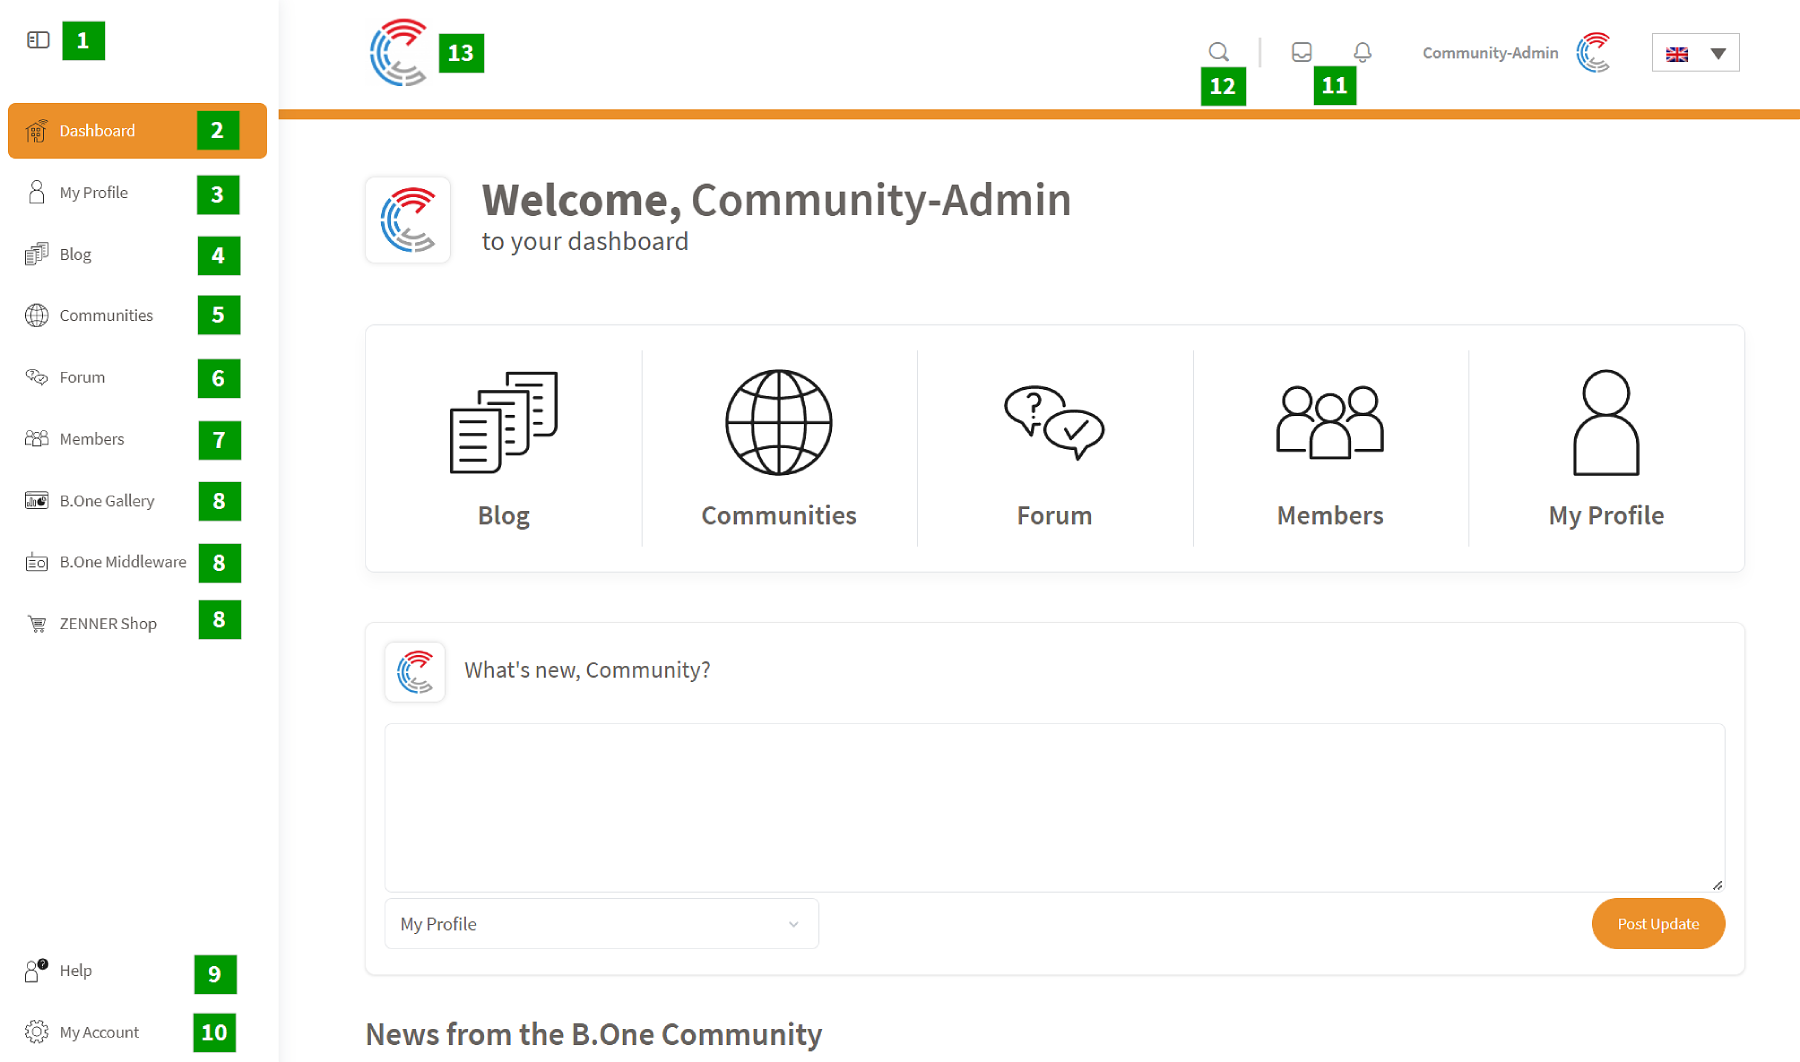
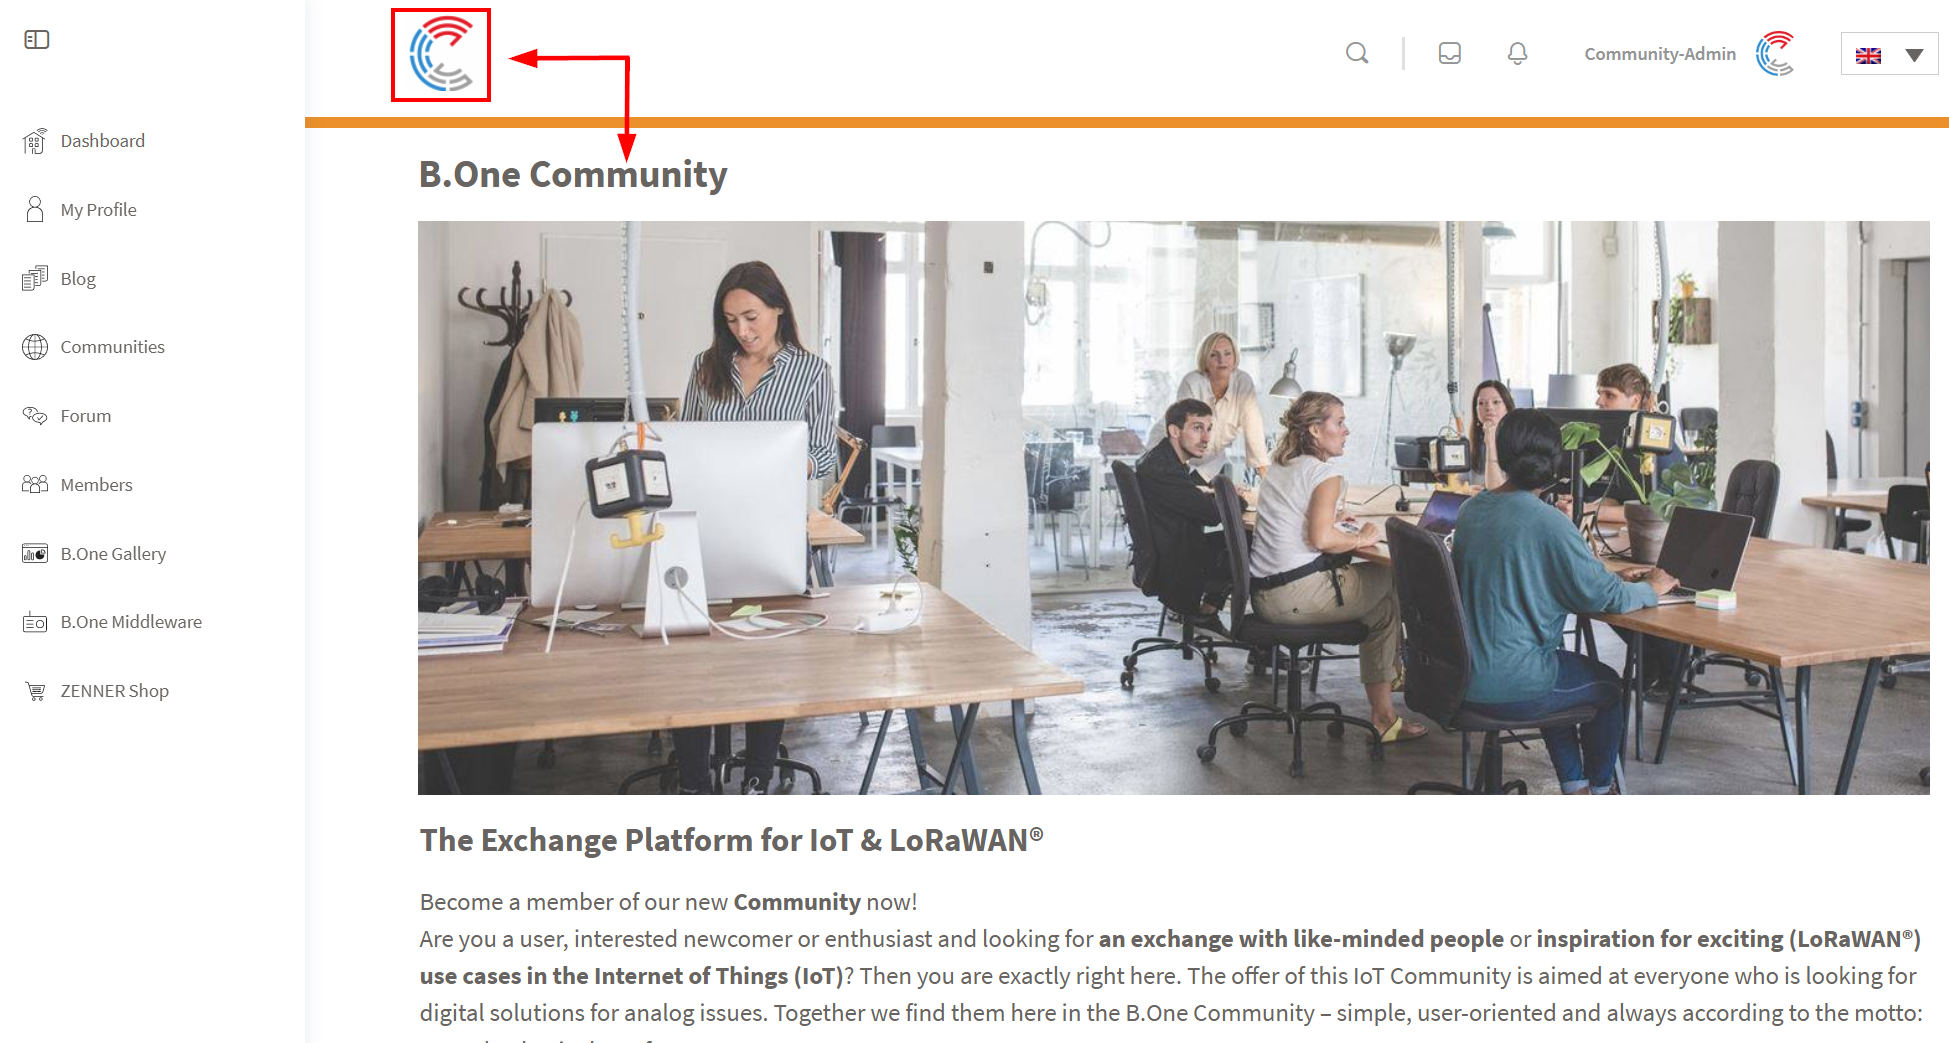
Before we get into the actual areas and features, a quick word on basic navigation of the platform. You can find most areas in the left navigation bar (1) or on the smartphone and certain tablet views in the so-called burger menu. This offers quick access to your personal Dashboard (2), to your Profile (3), to the Blog (4), to the Communities (5), to the Forums (6), to Members area (7), direct access (8) to the B.One Gallery, the ZENNER Datahub and the ZENNER online shop, the help area (9) and your account (10). You can also find it in the so-called header area at the top right your Messages and Notifications (11), the global Search (12) , a second access to your Profile and Account, the Language Dropdown to switch between German and English and the logo on the left, which takes you to the general Homepage (13) reached.
2.Dashboard
If you have already registered as a member (thank you very much!) and log in, you will usually first land on your personal Dashboard, which contains various elements and functions. Alternatively, you can also reach the dashboard on the left using the navigation bar.
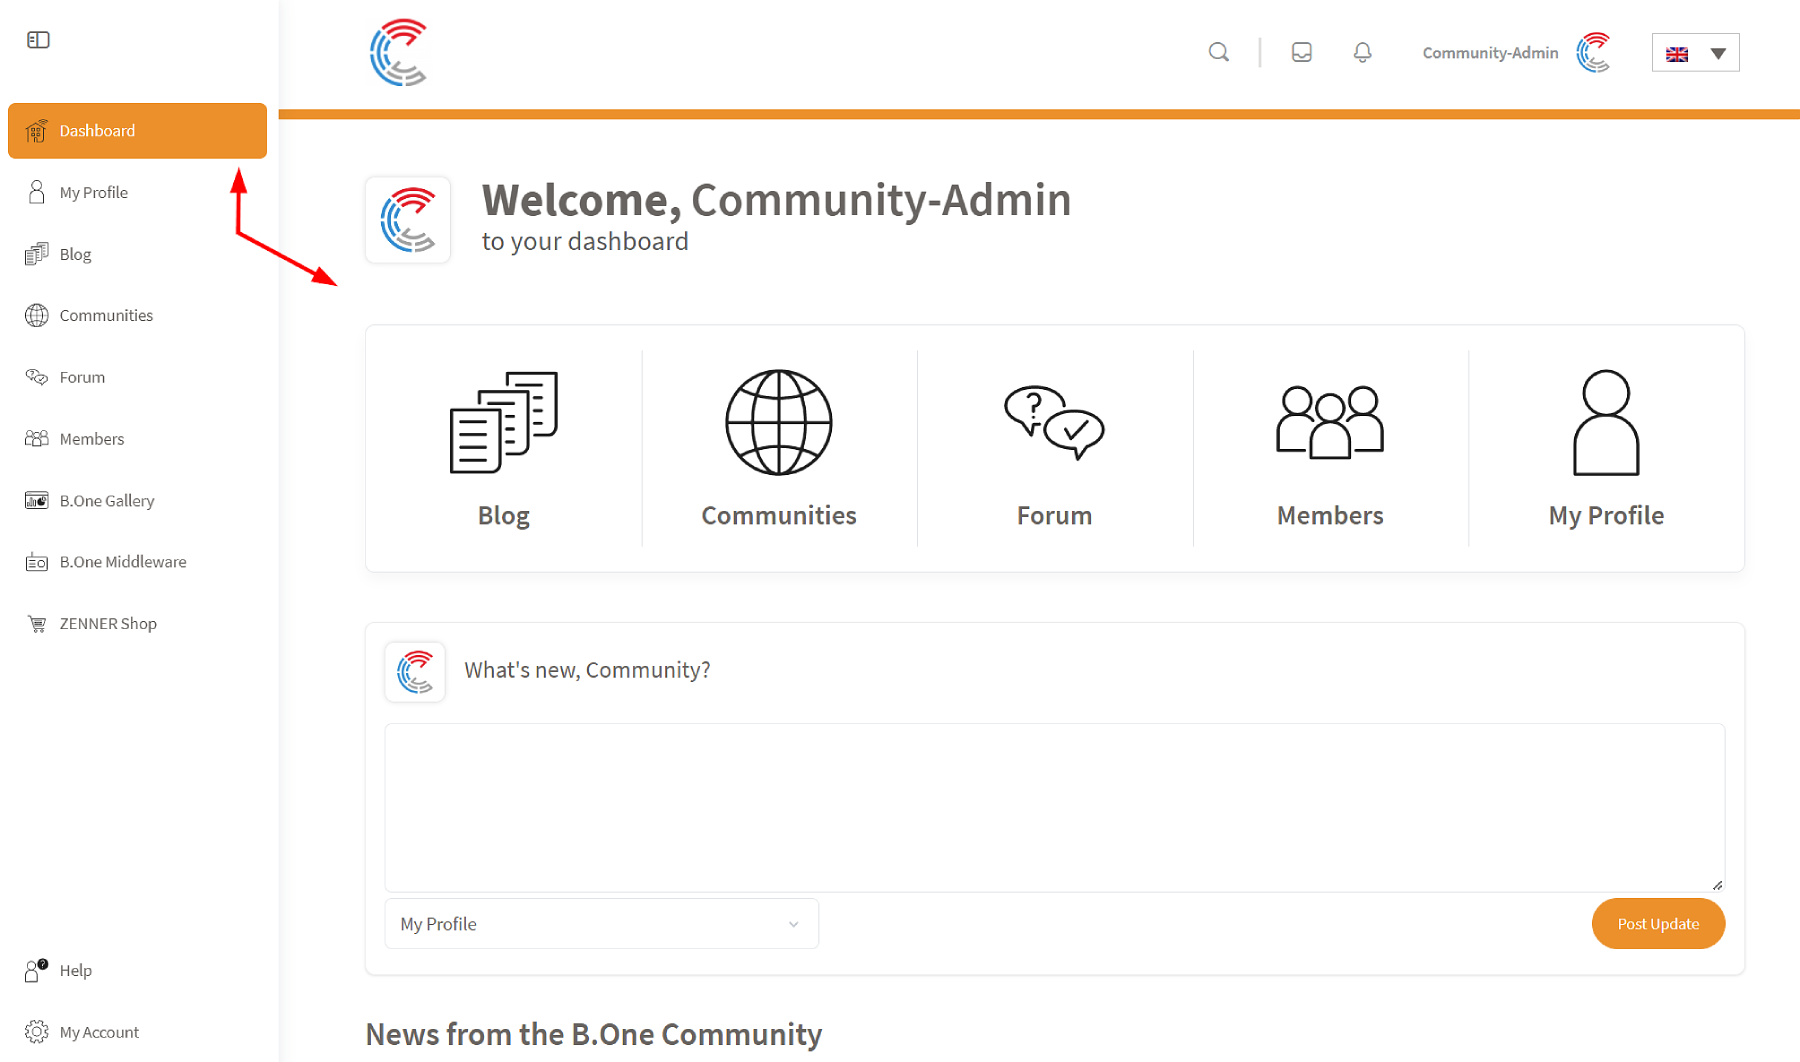
At the top you will find shortcuts to the Blog, the Communities, the forums, the Members and your Profile.

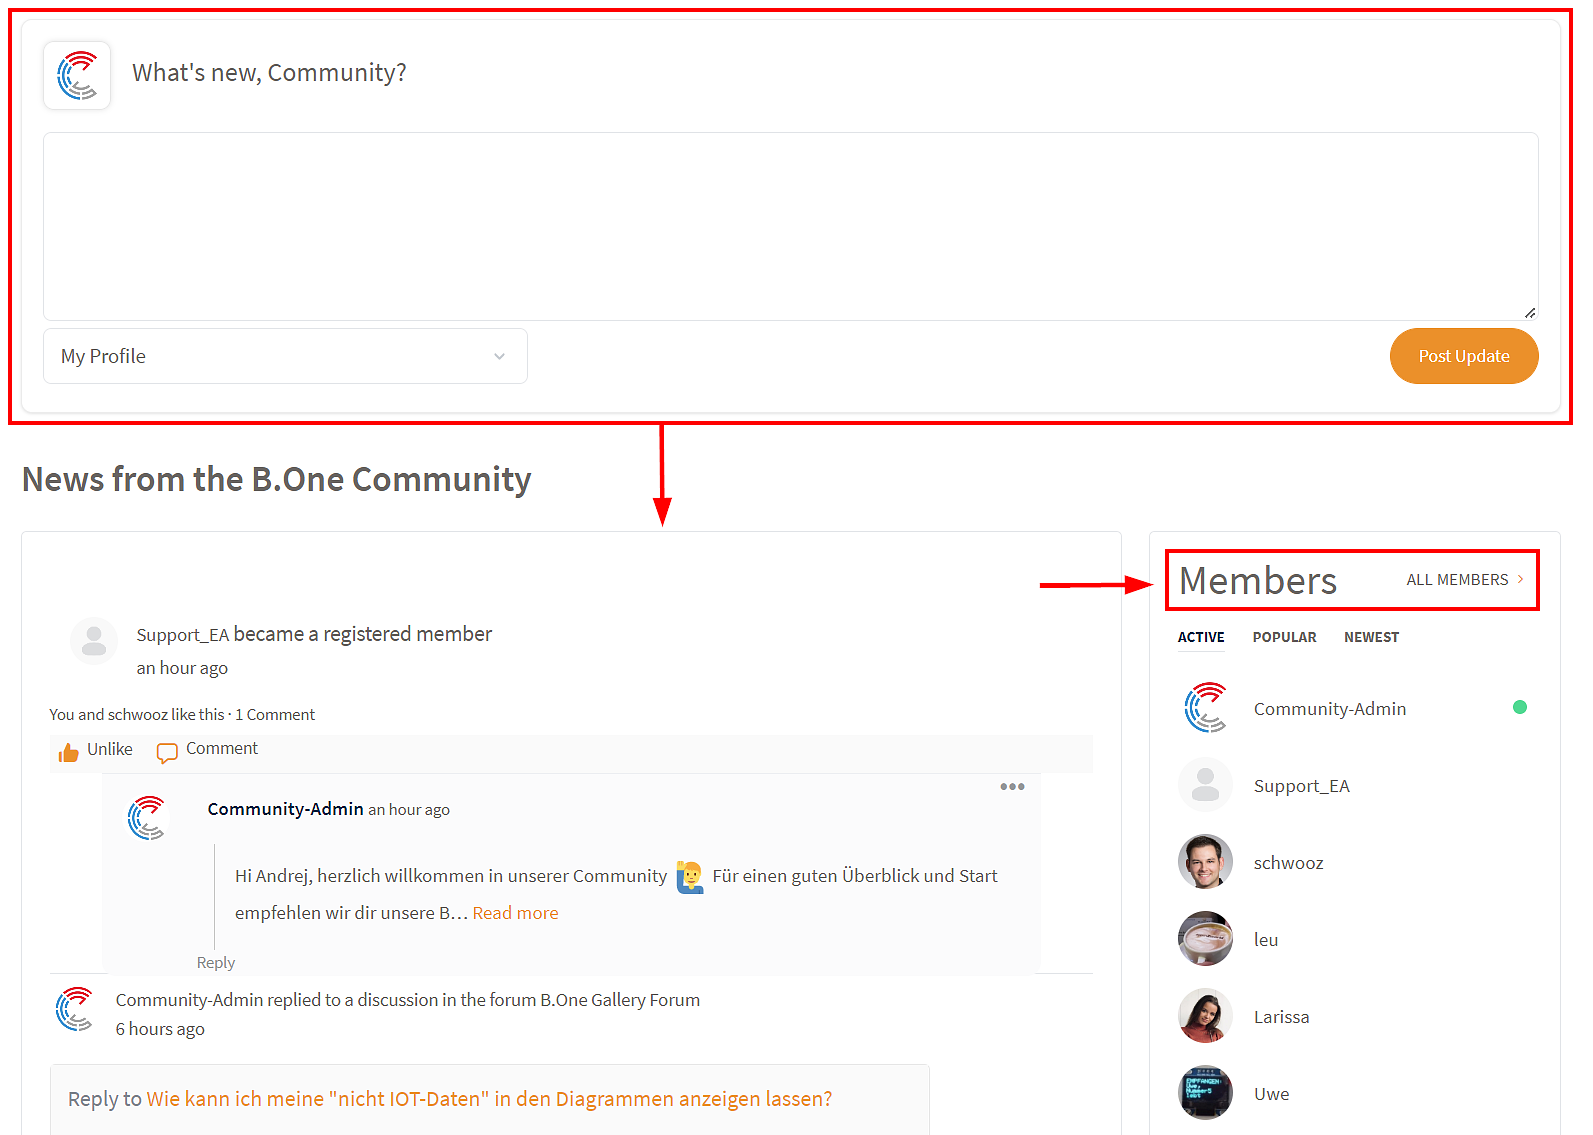
Under the shortcuts you can share your own news and information with other members. You have the choice between publication in a (regional or topic-specific) Community of which you are a member and publication in your own Profile or in the so-called “Community Feed”. This is located under the heading “Community News”/”Activities” and shows you all activities on the platform that are available to the general public. This includes newly published blog articles. To the right of the news feed/activity feed, you’ll also see other recently active members, and you can see who’s online right now. Here you will also find a link to the members area with a complete list of all members.
3. My Profile
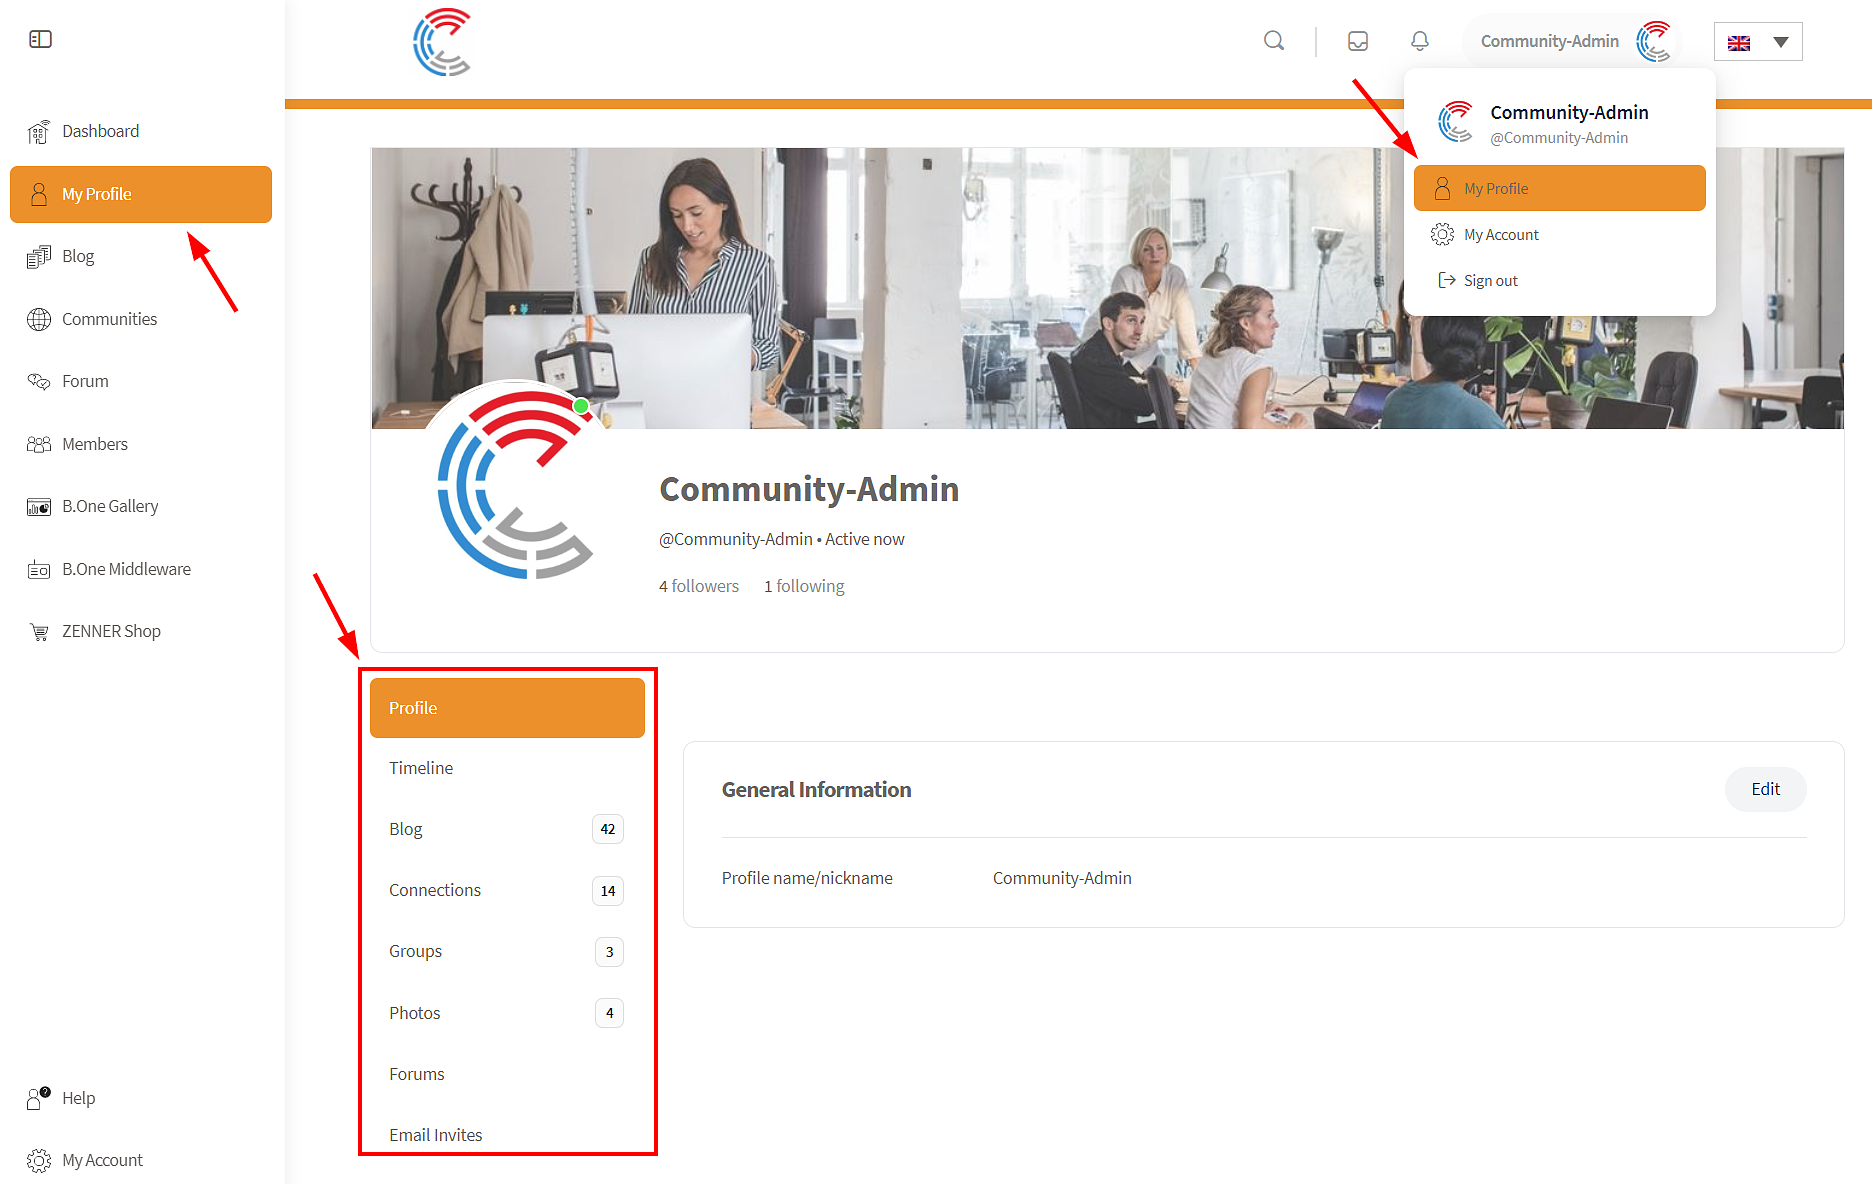
You can find your own profile via the left navigation or on mobile devices via the burger menu as well as the header at the top right. In addition to the header with profile and cover photo, it consists of the following seven sub-areas: Profile, Timeline, Blog, Contacts, Communities/Groups, Photos, Forums and Email Invites.
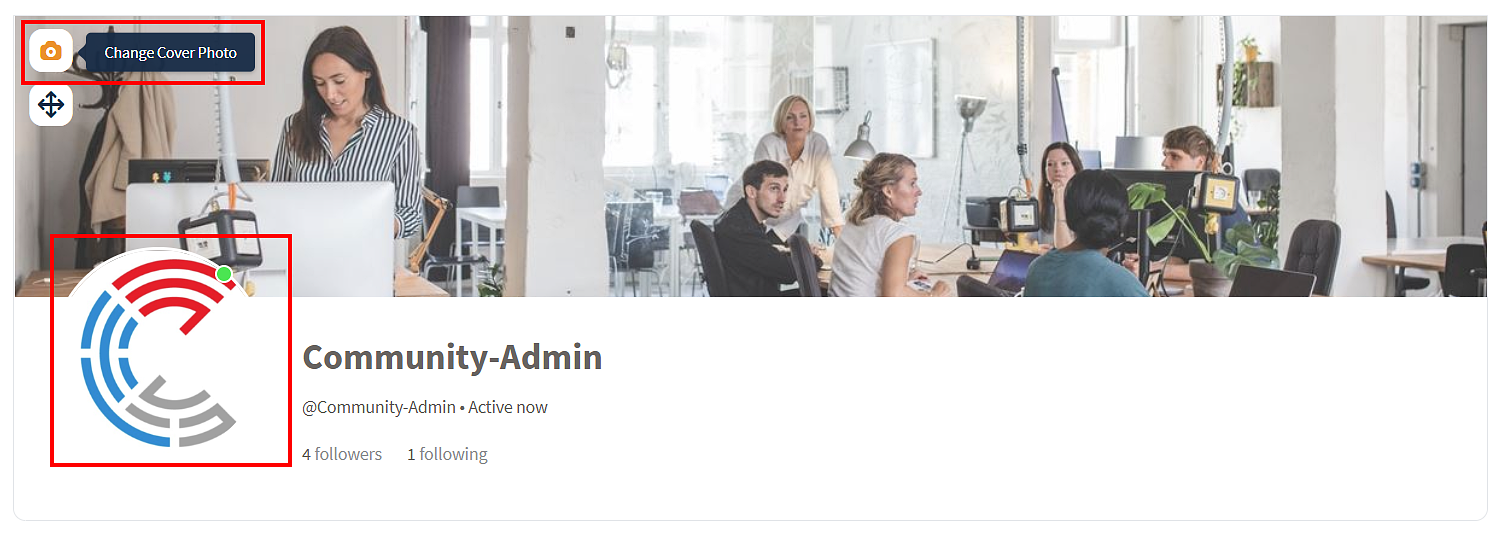
At the top of the header you can store your profile picture and also a cover photo. There are no limits to your creativity here 🙂
In the “Profile” tab‘ you can see the information currently stored and visible to others. You can change this information at any time by clicking the “Edit profile” button in the top right-hand corner.
In the “Timeline” tab you can see all your own activities on the platform as well as those of other members with whom you have connected. Here you can also publish news in your profile, whereby you can decide for yourself who can see them. You can choose between “public”, “all members”, “my connections” and “just me”.
In the “Blog” tab you can see all your published blog posts (sortable by “Recent posts” and “Most recommended posts”), your bookmarked posts and your draft posts. You can use the “Add new blog post” button to quickly and easily create a new article.
In the “Connections” tab you can see all the members you are connected to and all open connection requests.
In the “Communities” tab you will find all Communities in which you are a member and open invitations.
The “Forums” tab offers you quick access to your created discussions, given Replies, Discussions saved as favorites and subscribed Forums .
In the “Photos” tab all the photos you have published on the platform are displayed (apart from your own profile picture). You can also upload more pictures and create albums here.
And last but not least, the “Email Invites” tab. Here you can send invitations to your external connections by email and view all the invitations that have been sent.
4. Blog
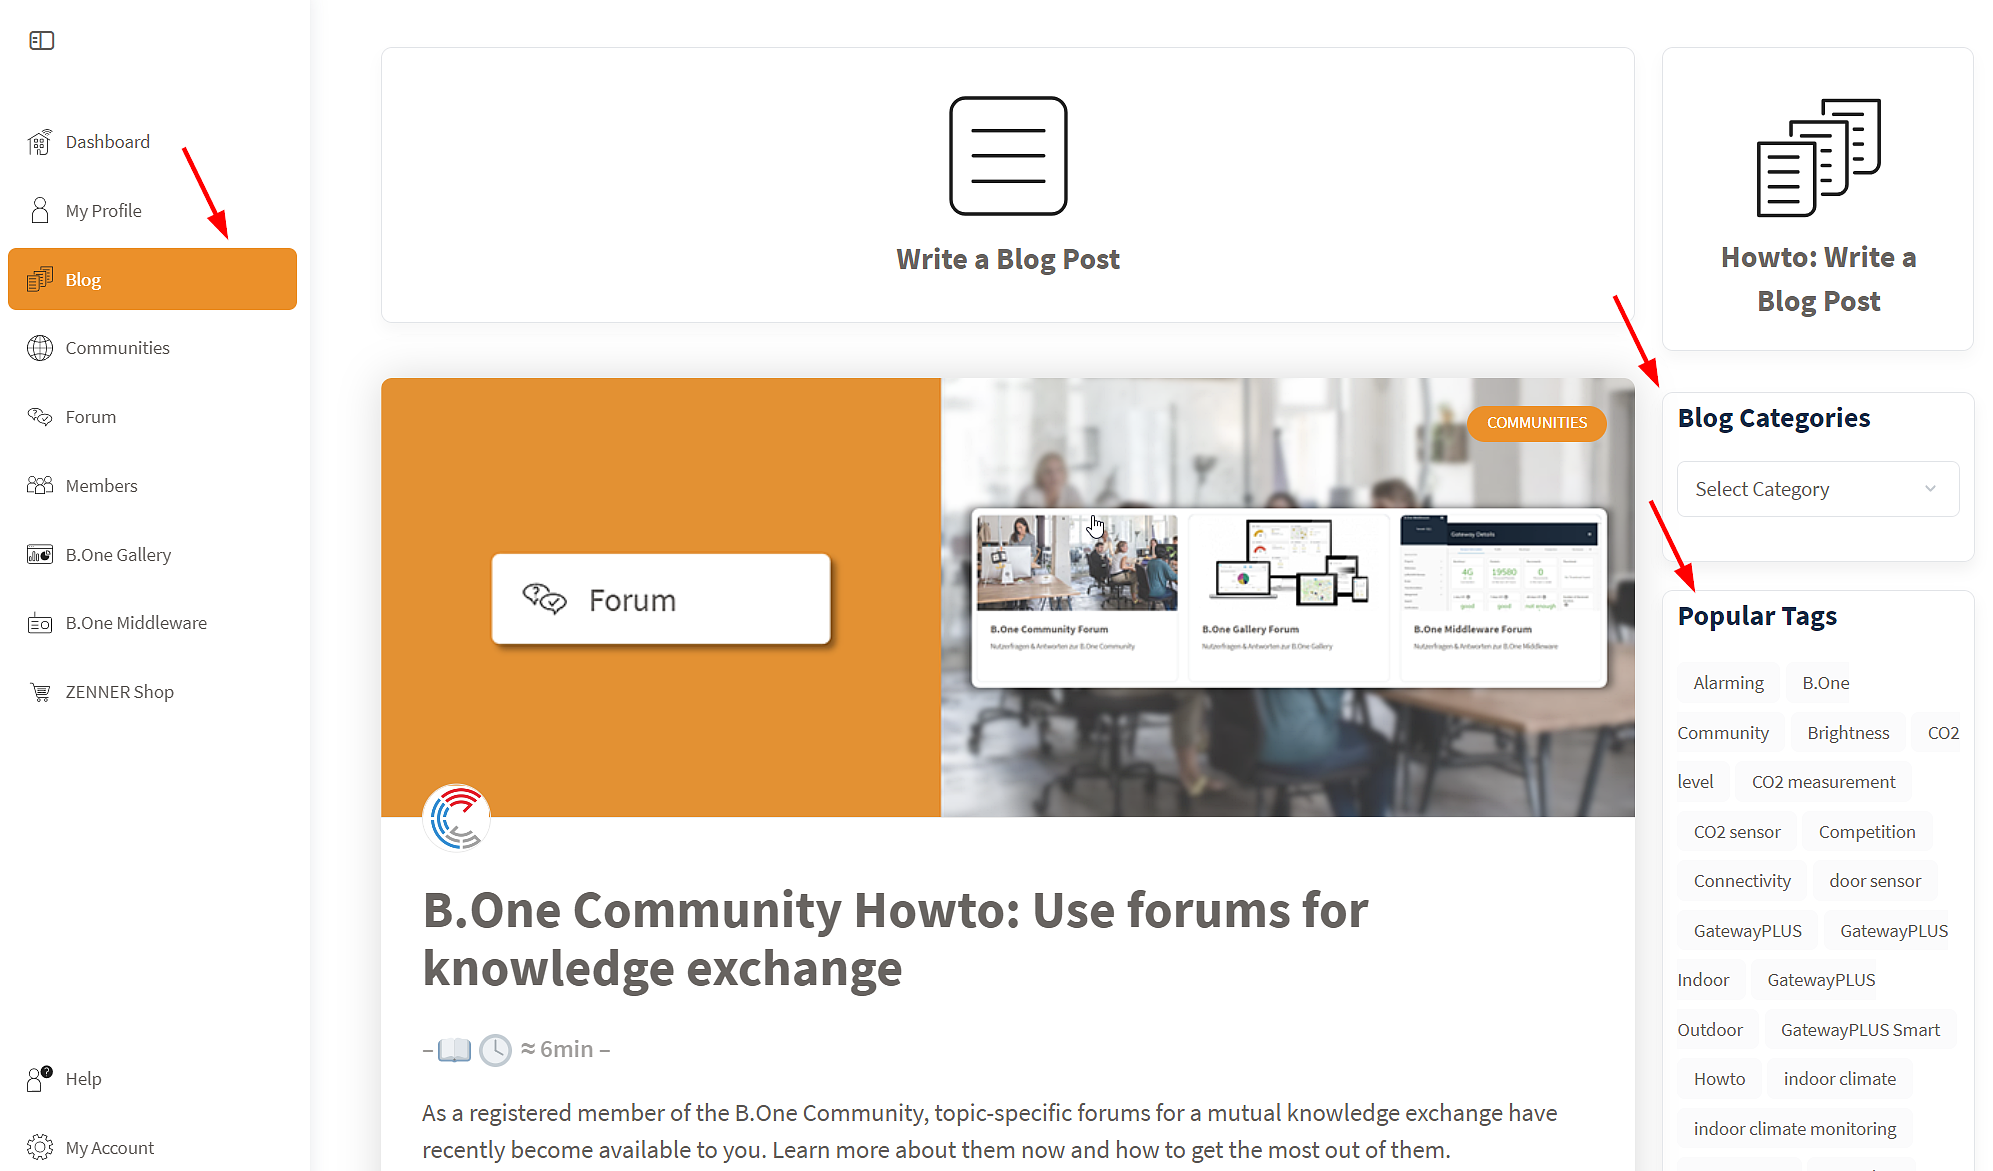
You can also access the Community Blog via the navigation on the left or via the burger menu on mobile devices. There you will find a lot of inspiration from interesting articles on topics related to the Internet of Things and LoRaWAN®. Exciting use cases, exclusive project insights, product presentations, test reports on sensors and gateways, current news and assistance with IoT applications such as the B.One Gallery or the ZENNER Datahub. The contributions come from both Community admins and other members. You can also provide content for the Community as an author yourself. You can find out exactly how this works and what you should pay attention to in the B.One Community Howto: Write a blog post.
Are you interested in certain topic categories? Then either use the category dropdown to only display articles from a certain category in the list of blog articles or the so-called ” tag cloud” to only display articles that have certain tags (= keywords). became. If you stay on the general view of all blog articles, you will always see the assigned main category at the top right of the respective post.
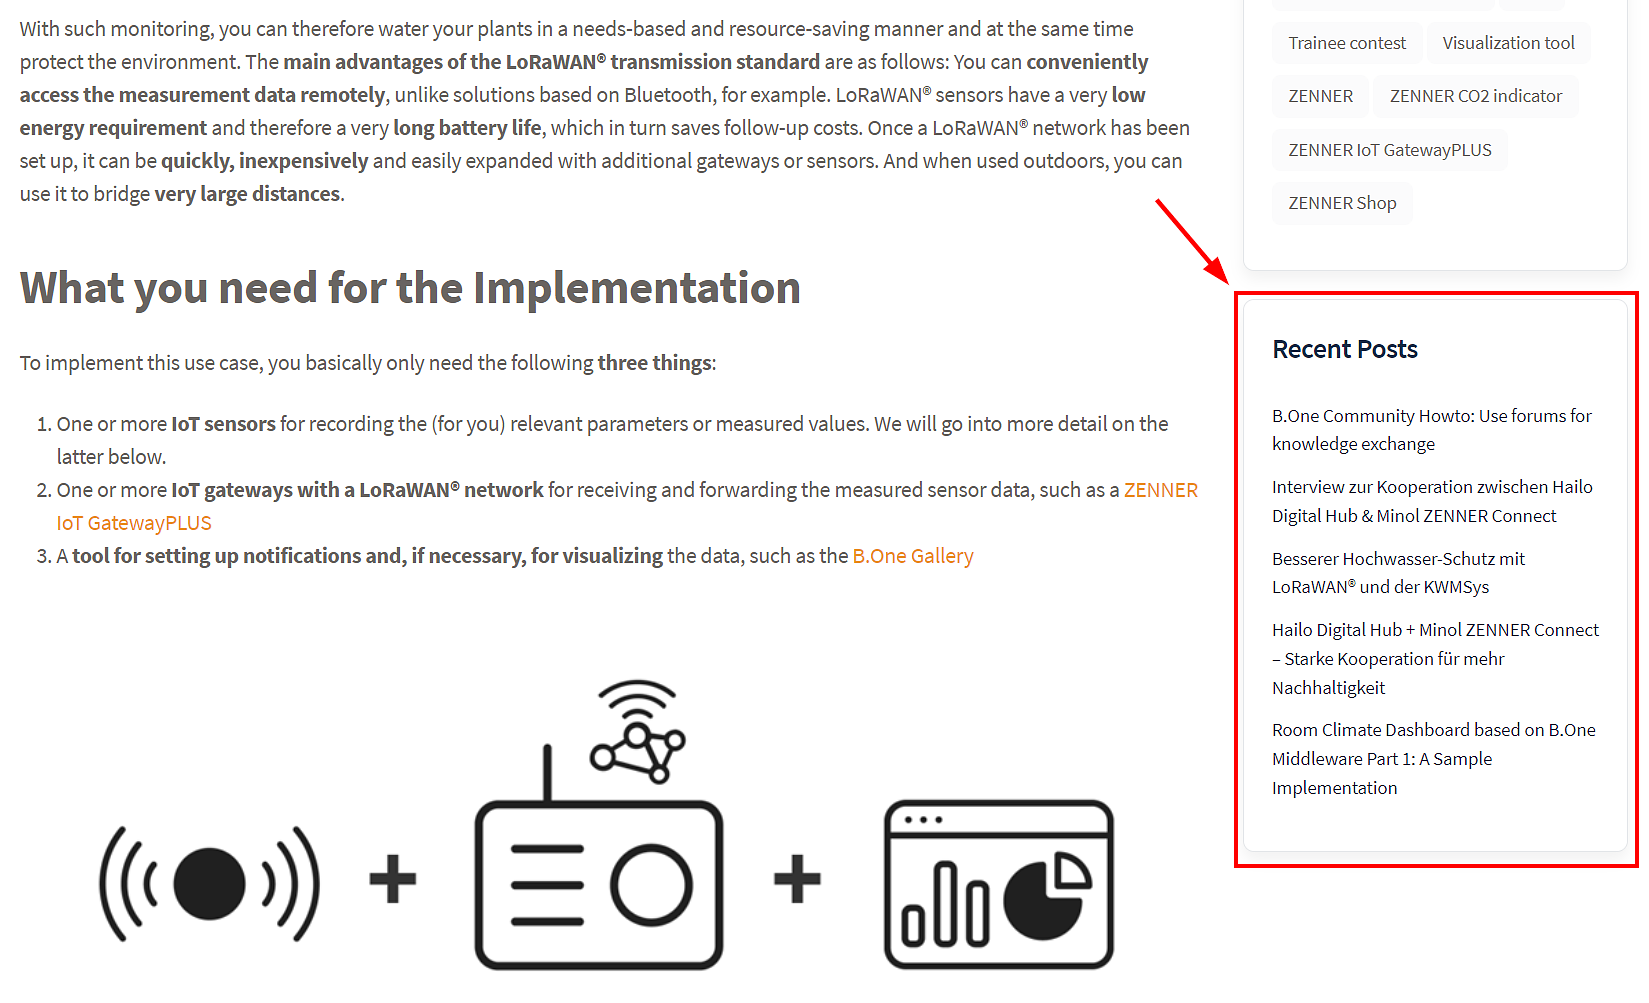
Did you just read a post and want to see which other blog posts were published recently? Then take a look under “Recent posts“.
5. Communities
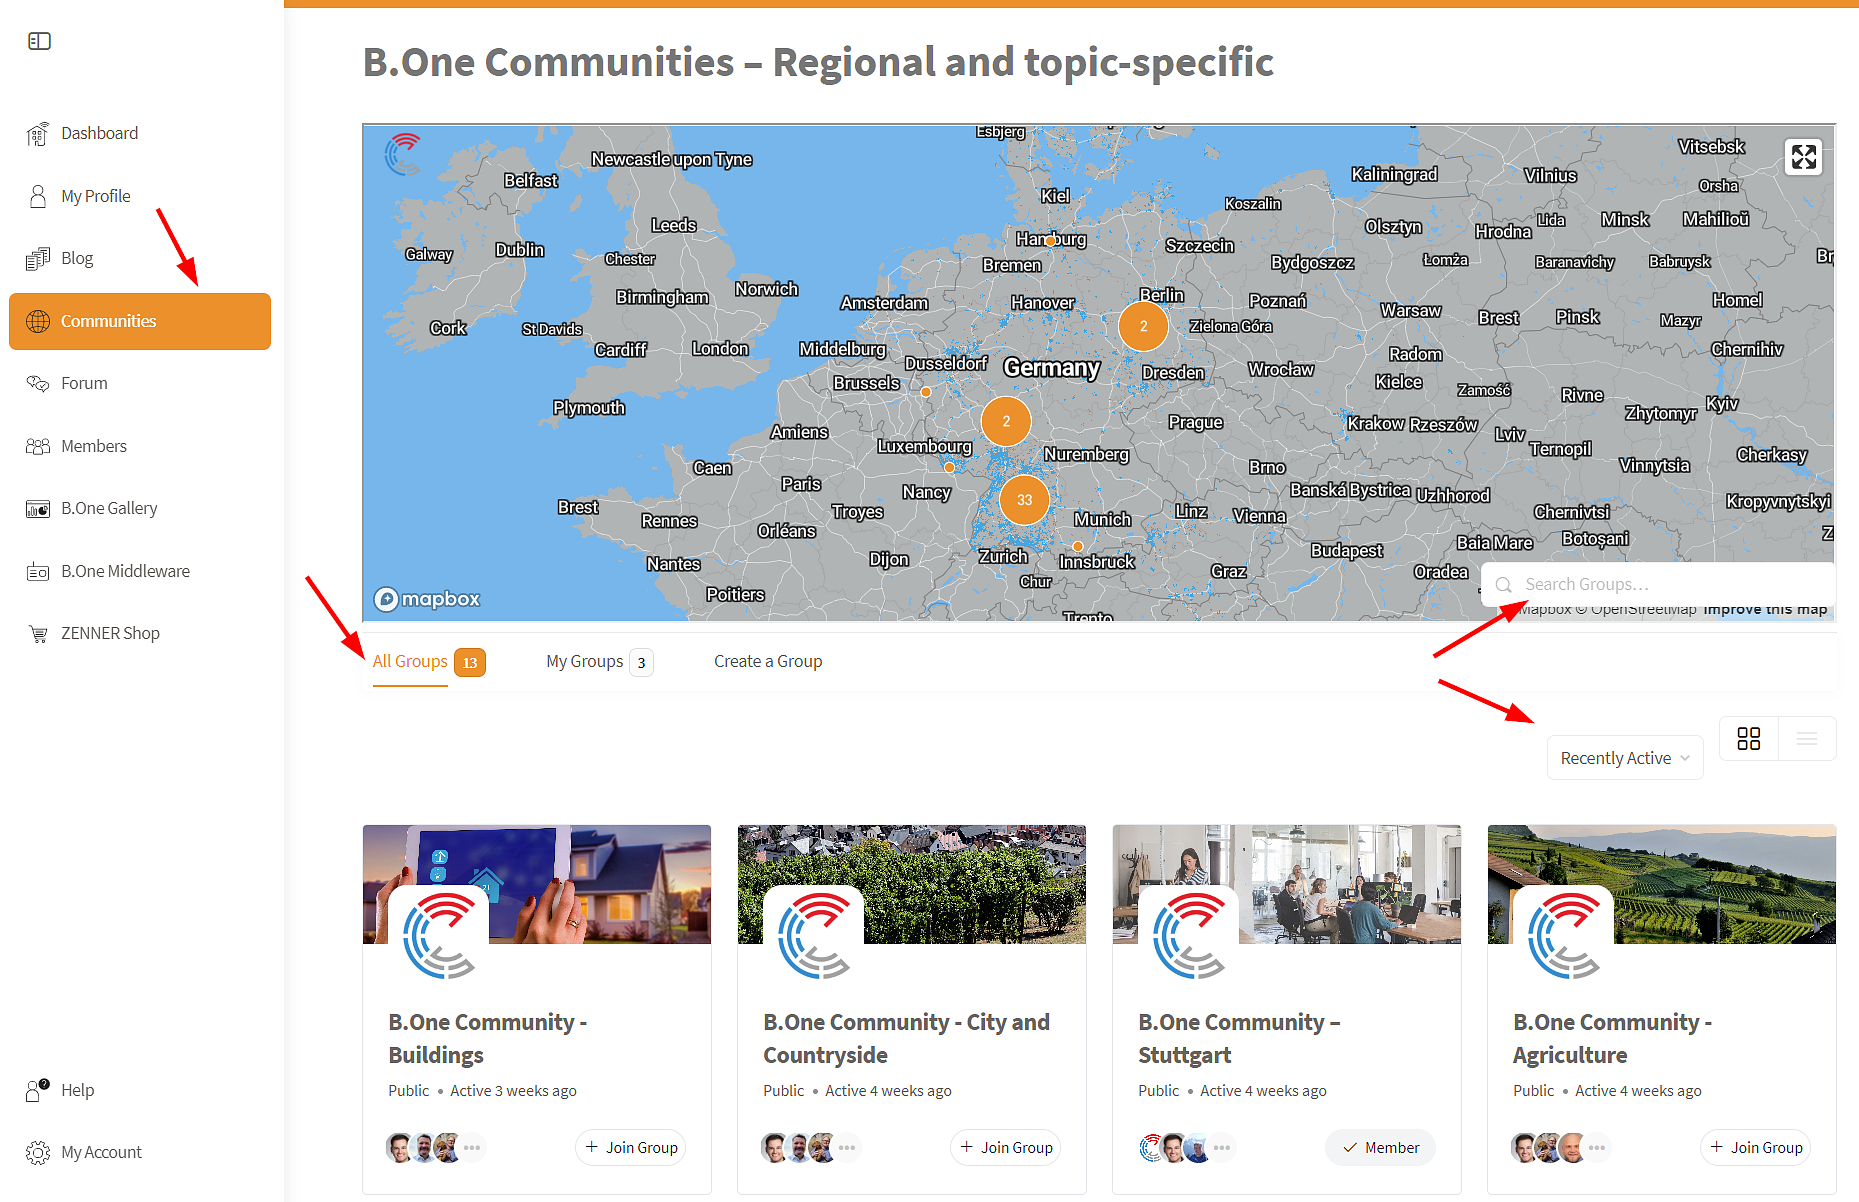
Under Communities you will find all regional and topic-specific Communities (groups) that have been created on the platform so far. In the “All Communities” tab, you will first see all of them, sorted by last activity. You can adjust this sorting according to “most members”, “newly created” or “alphabetical”. If you are already a member of one or more Communities, another tab called “My Communities” will appear here. If you are looking for a specific topic or a specific region, you can also use the search function. This way you can quickly find out whether there is already a Community for this or not. And if you are bothered by the tile view, then simply switch to the list view using the icon next to the sorting dropdown.
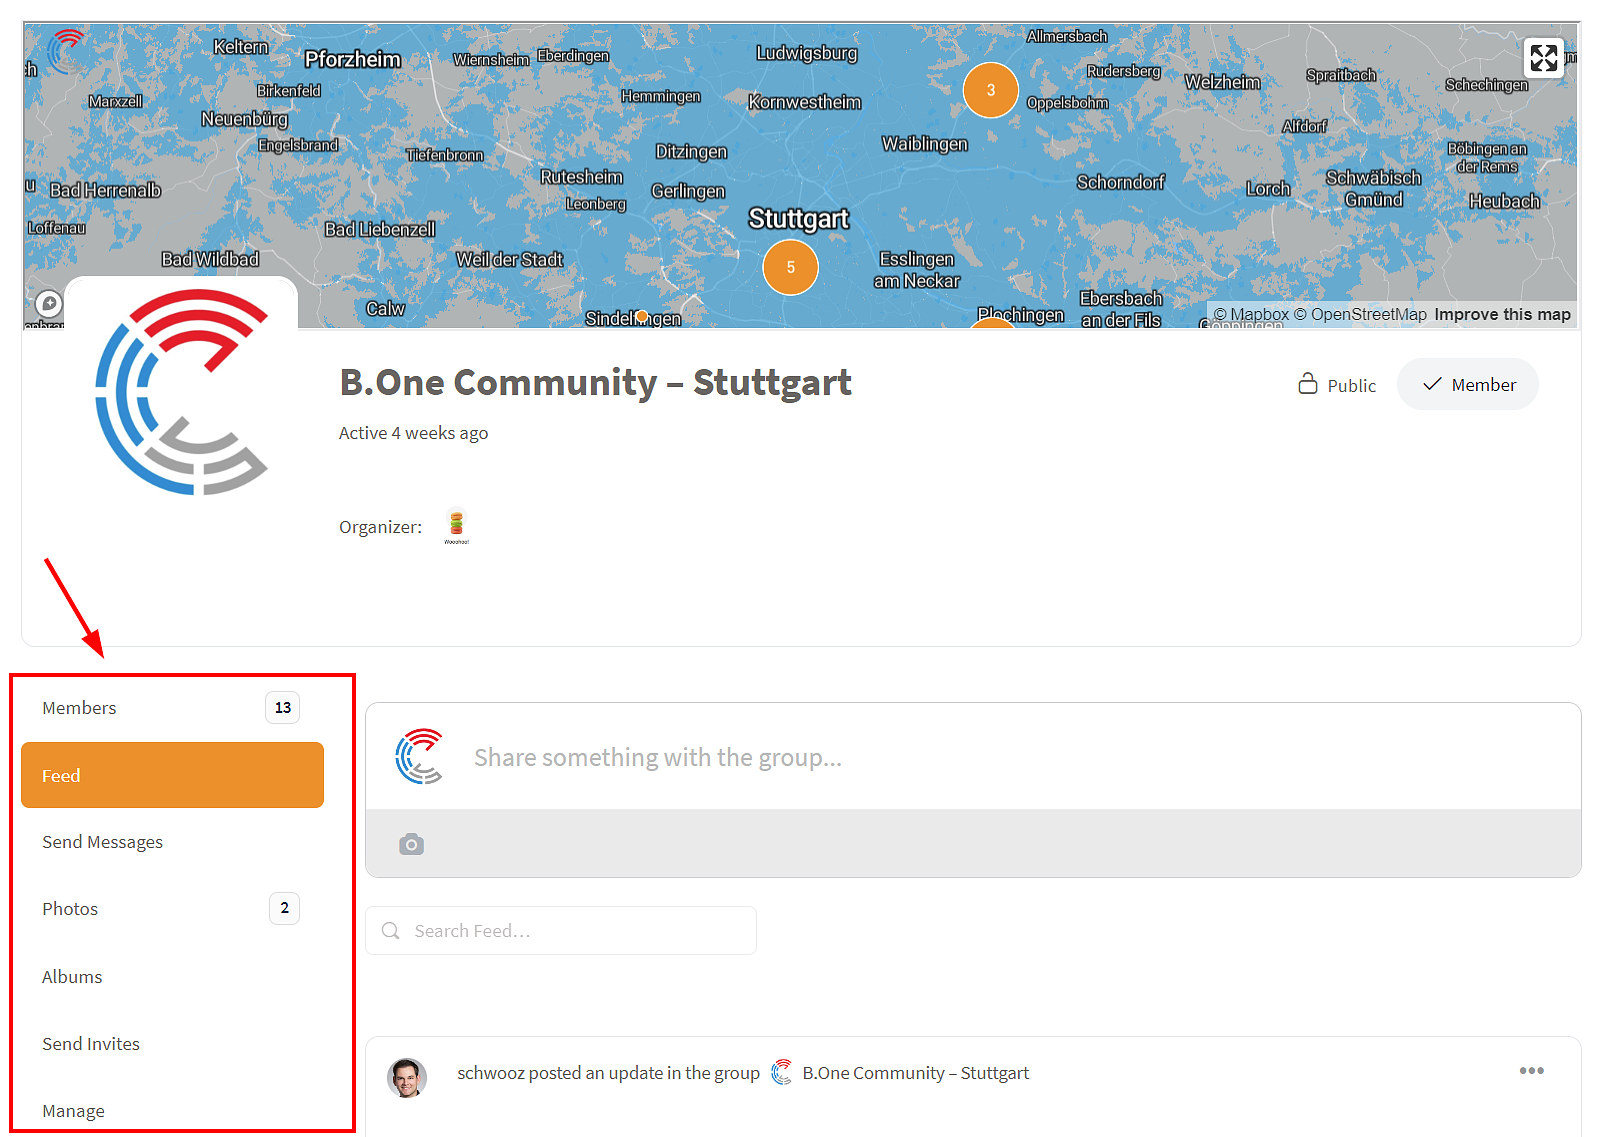
Depending on whether it is a private or a public Community, you can take a look around before you become a member. Each Community has the same basic structure. The respective Community Map is always displayed at the top above the group name and group logo. Unlike the global Community Map, only the gateways whose position has been shared by members of the currently selected Community are displayed here. Under the group name you will then find a link to all blog posts that have been assigned to the corresponding Community as a category and/or a short description of the Community. This is followed by the individual sub-areas. The members of a Community can be managed under “Members“, under “Feed” all posts by members are displayed in the feed and you have the option of creating your own. Under “Photos” you will find all the images published in the Community, under “Albums” you can organize them even further, under “Send Invites” you can invite new members and view all open invitations, and under “Manage” you can read the information and settings manage a Community. However, which of these subsections you actually see also depends on whether you are an administrator/organizer of a Community or not, whether it is private or public and whether you are currently logged in or not.
Would you like to join a Community? For public Communities: simply click on “Join Community” in the upper right corner of the desired Community (alternatively, you can also do this if you have already clicked on a Community).

For private Communities: similar to the latter, only with the difference that you have to request membership using the same button.

Can’t find a suitable one for you? then just create a new Community. Depending on whether you choose a public or private one, the posts and content shared there are publicly visible to everyone or only to the dedicated members of your Community.
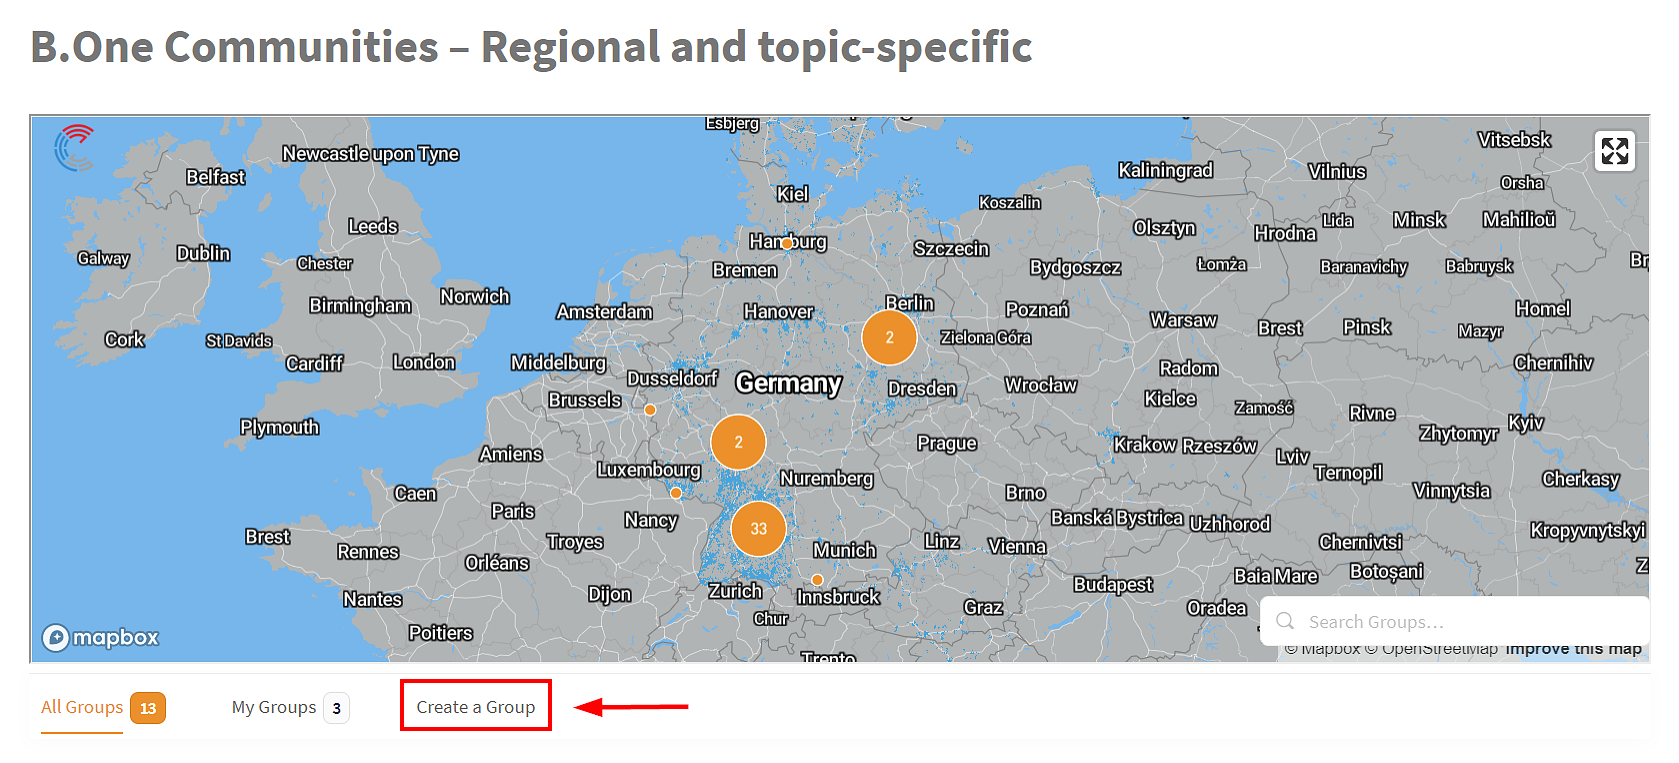
You’re still wondering what’s up with the card at the top of the Community Area? Then we recommend our Community Map Quick Guide.
6. Forums
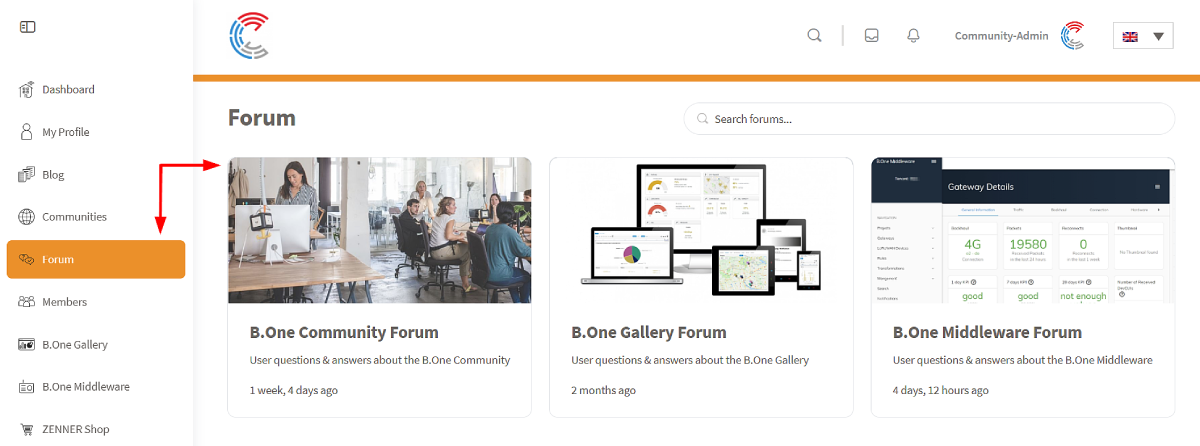
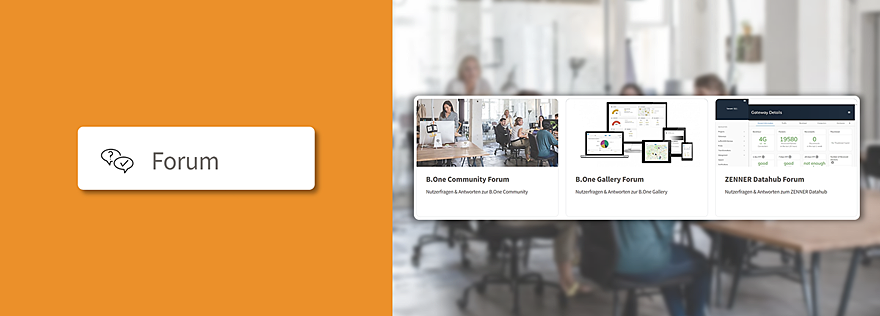
In addition to personal direct messages and the previously highlighted Communities, various topic-specific Forums are also available as an opportunity for exchange. Create new discussions with your own questions, help others with your answers and benefit from mutual knowledge exchange. You can find out exactly which forums there are and how you can use them optimally in the blog post “B.One Community Howto: Use forums for knowledge exchange“.
7. Members
Under Members you can see all members of the Community. Here, too, you have the option of sorting by “recently active”, “newest member” or “alphabetically” and switching from a tile view to a list view. If you are looking for a specific person, simply use the member search. By switching to the “My Connections” tab, you can restrict the view to all members with whom you have connected via a connection request.
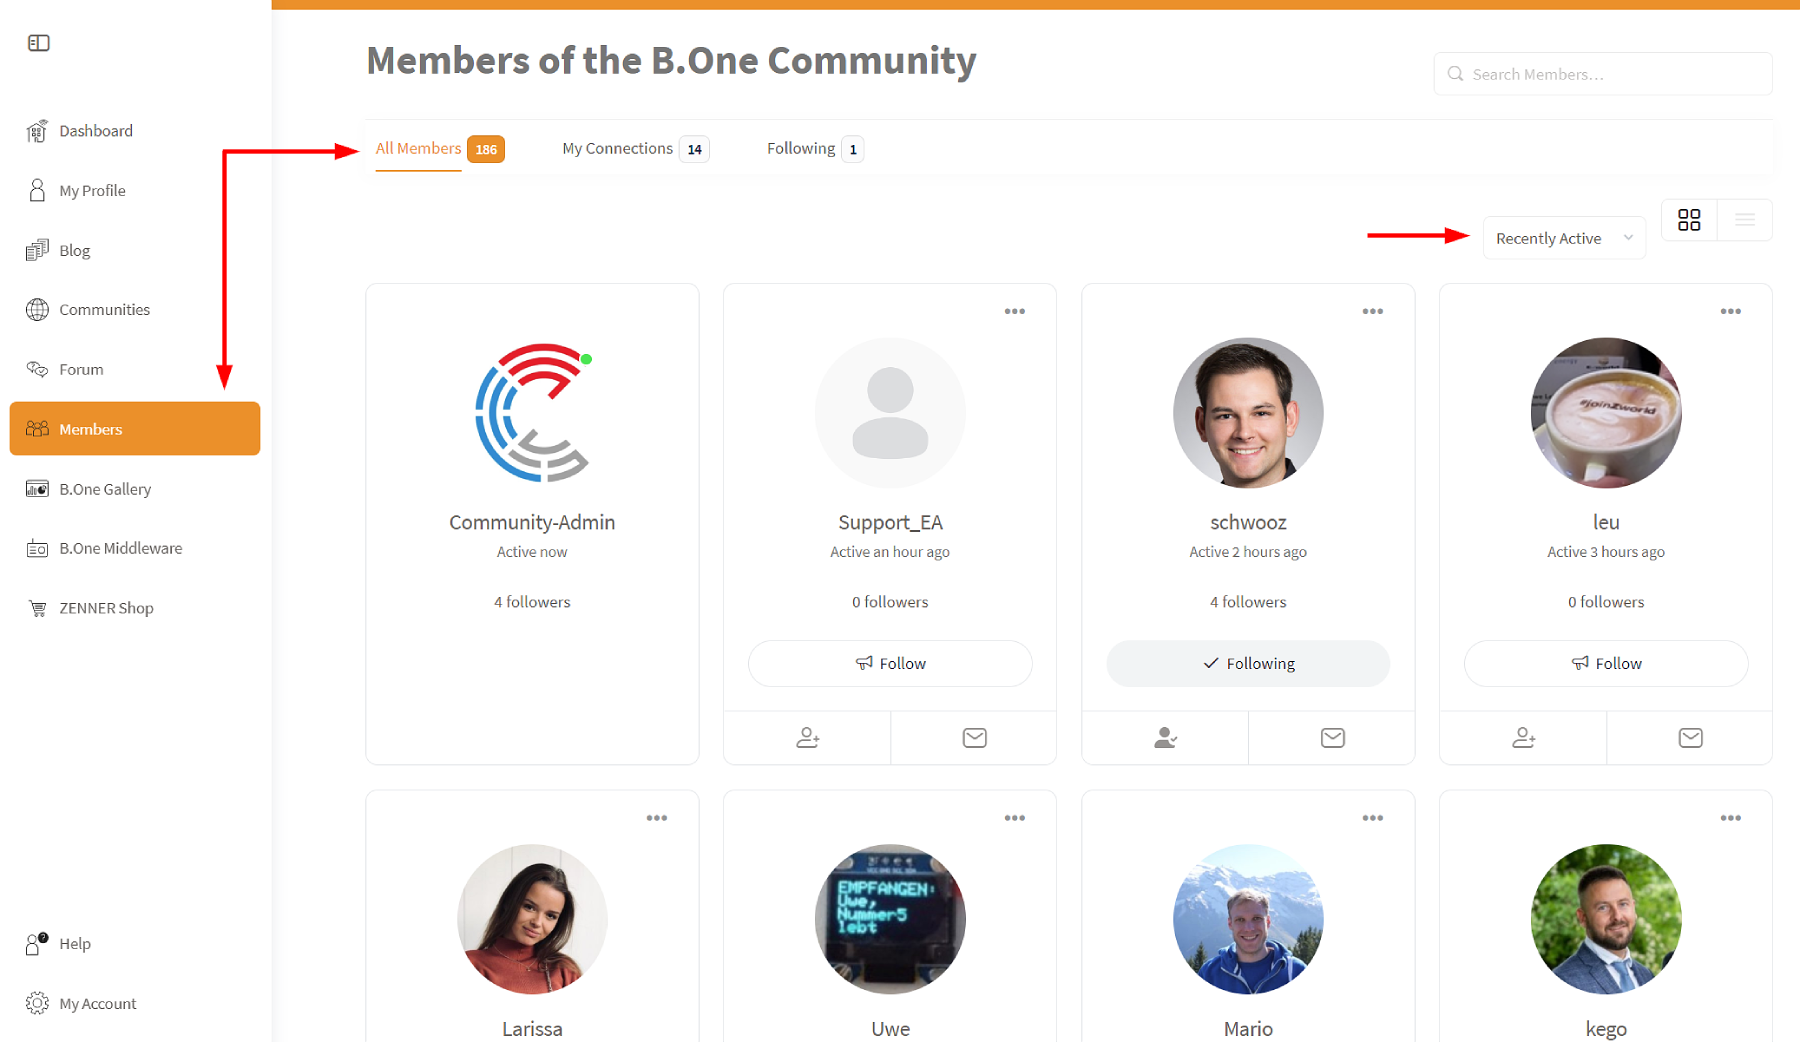
To send others a connection request, simply go to the desired member and click on the left icon with the plus. Alternatively, you can also use the envelope to the right to send private direct messages. Would you like to view a member’s profile? Then simply click on the corresponding photo or name.
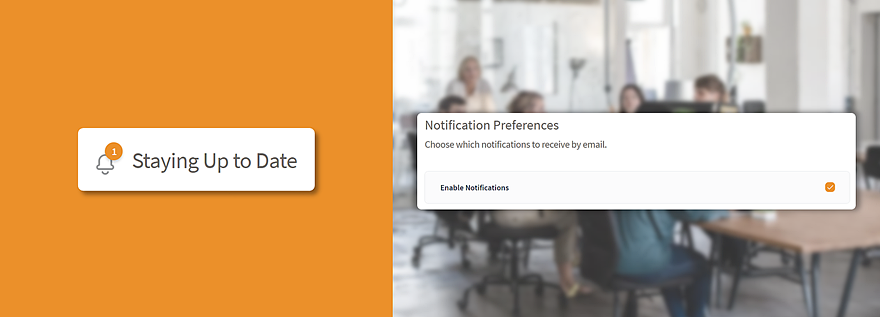
Tip: Also use the option to follow other members. If they then publish something in the Community, you will receive a notification both on the platform itself and by email. Also, the posts of the people you follow will appear alongside your own under “Timeline” on your profile. You can find out more about how to stay up to date in the blog post “B.One Community Howto: Staying Up to Date“.
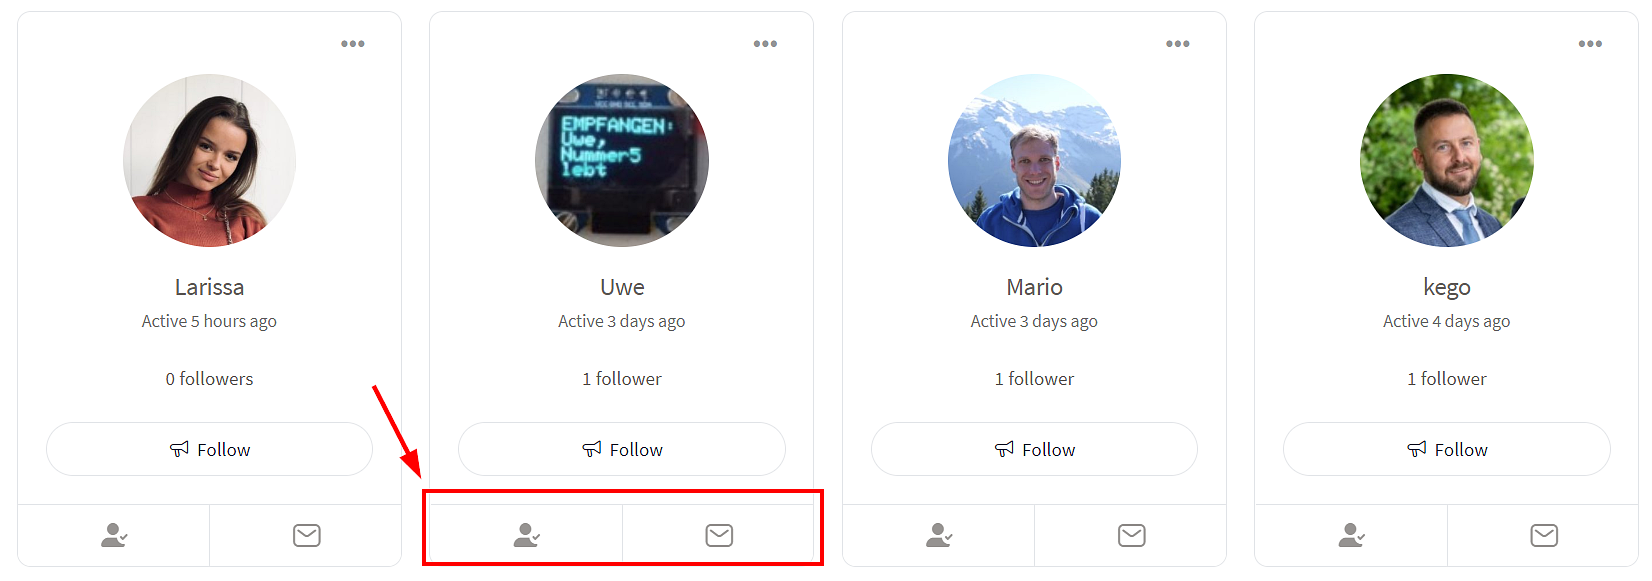
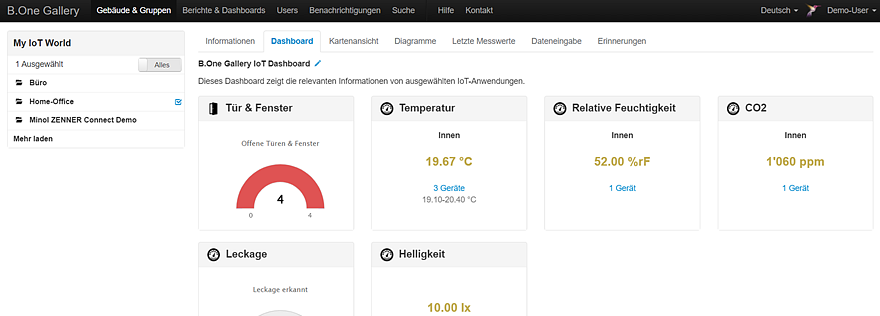
8. Direct Access IoT Applications
If you already use the IoT applications B.One Gallery and/or the ZENNER Datahub, you will find practical direct access to them in the left navigation (desktop) or in the burger menu (mobile). Don’t you know them yet or want to learn more about them? Then we recommend the two blog categories ZENNER Datahub and B.One Gallery . In addition, you will also find direct access to the ZENNER Shop I IoT Sensors & Solutions. Here you will find everything you need to implement your use cases in the Internet of Things. Gateways with network and (optional) visualization, suitable sensors and more. Please note, however, that this online shop is currently only aimed at corporate customers.
9. Help
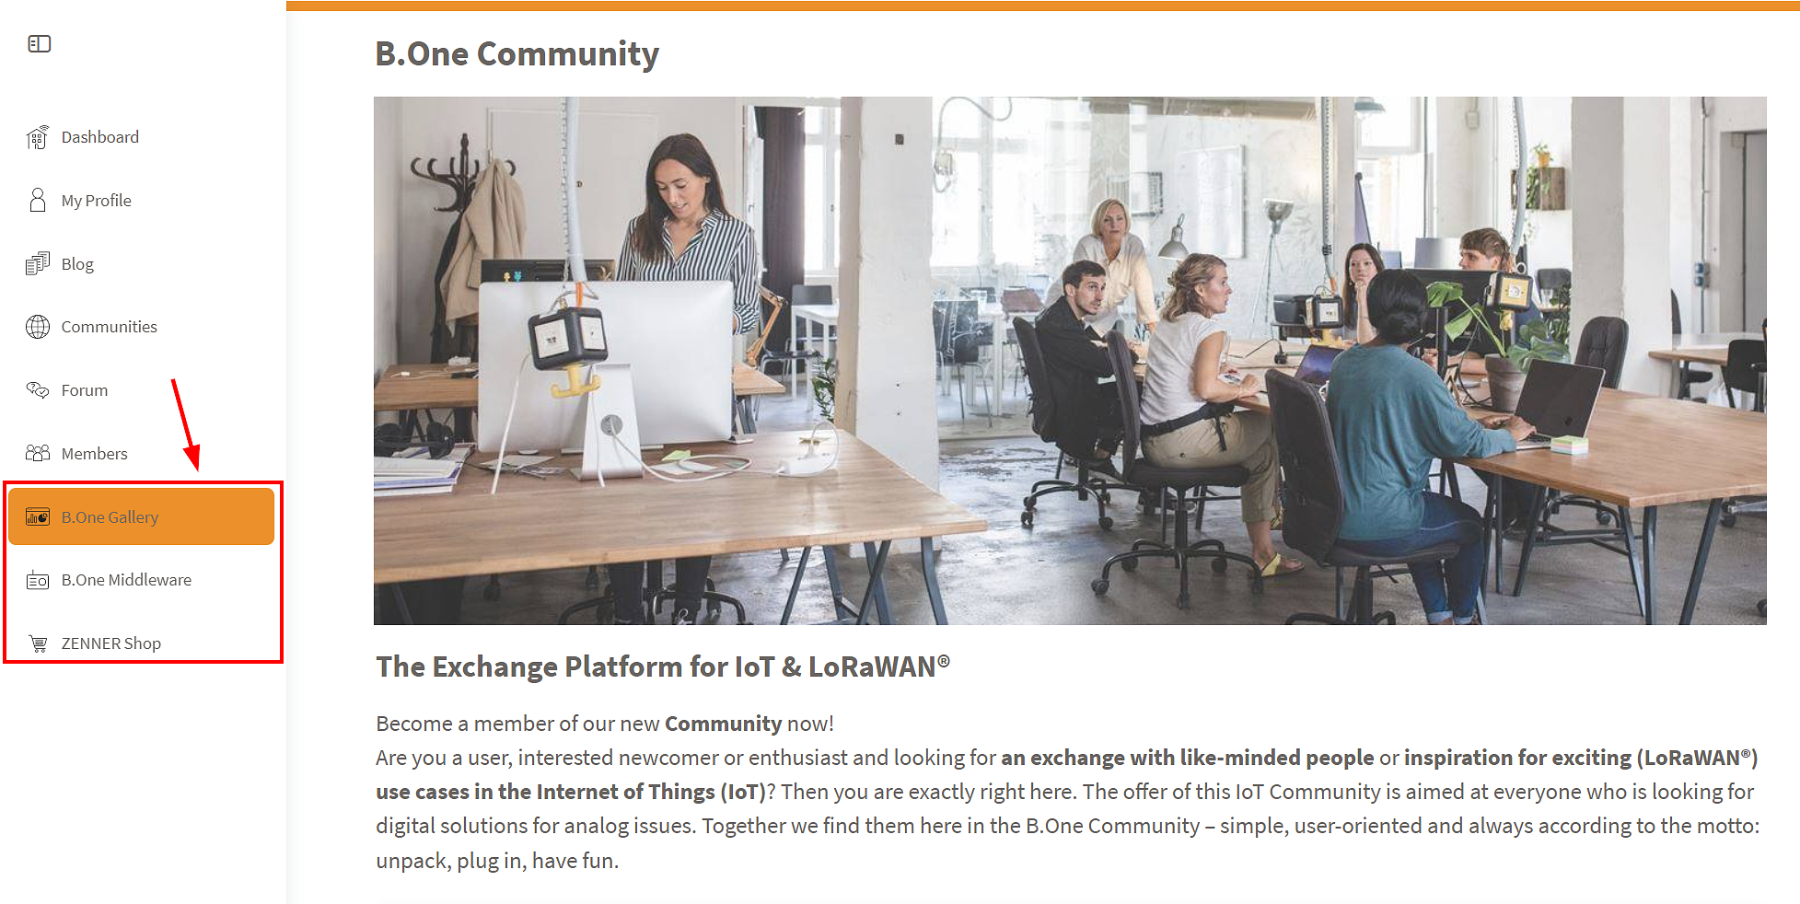
In the help section you will find central help articles about the B.One Community as well as the IoT tools/platforms ZENNER Datahub and B.One Gallery. You will also find general FAQs on the topics of the Internet of Things and LoRaWAN. And don’t forget our contact form if you have any questions or suggestions about the Community.
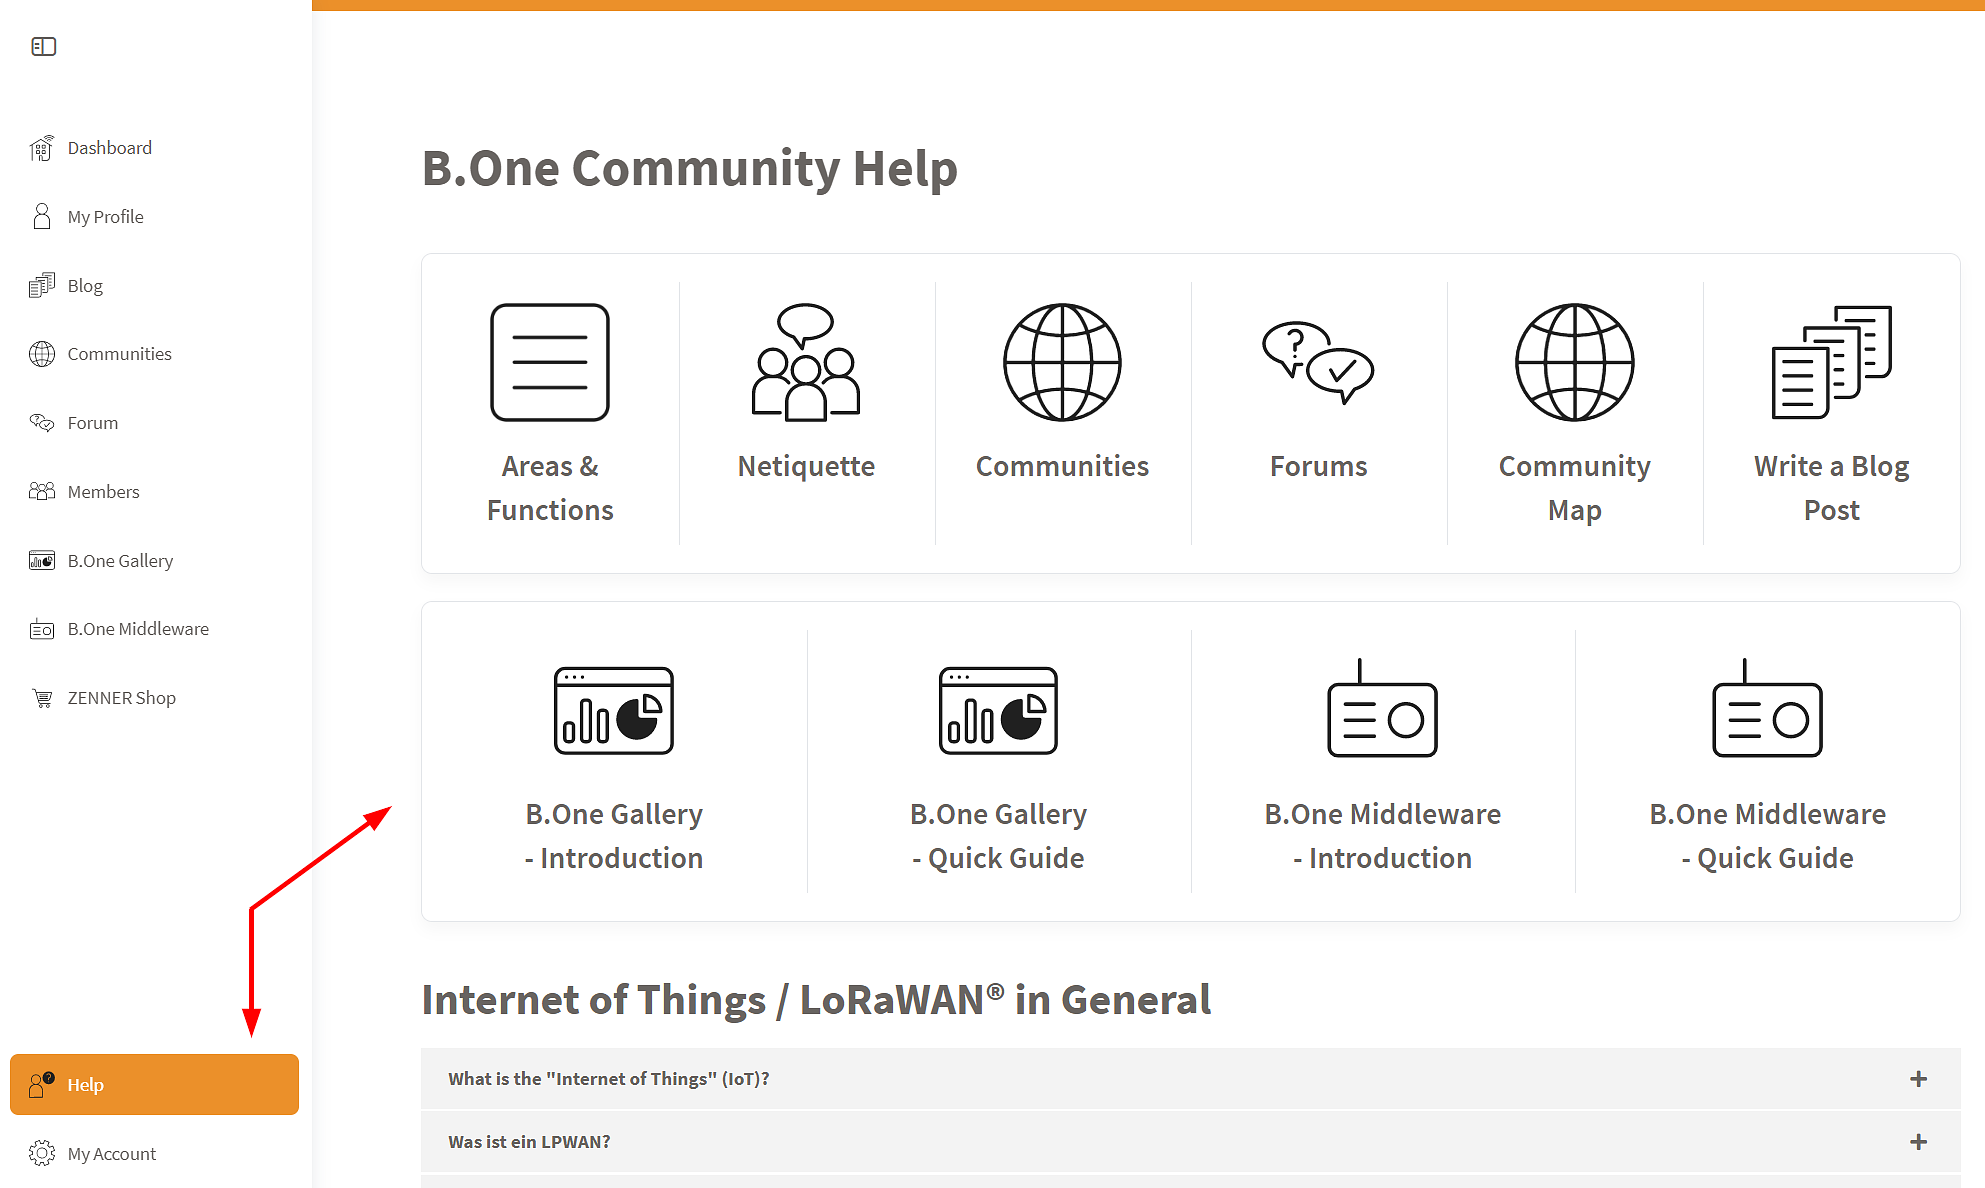
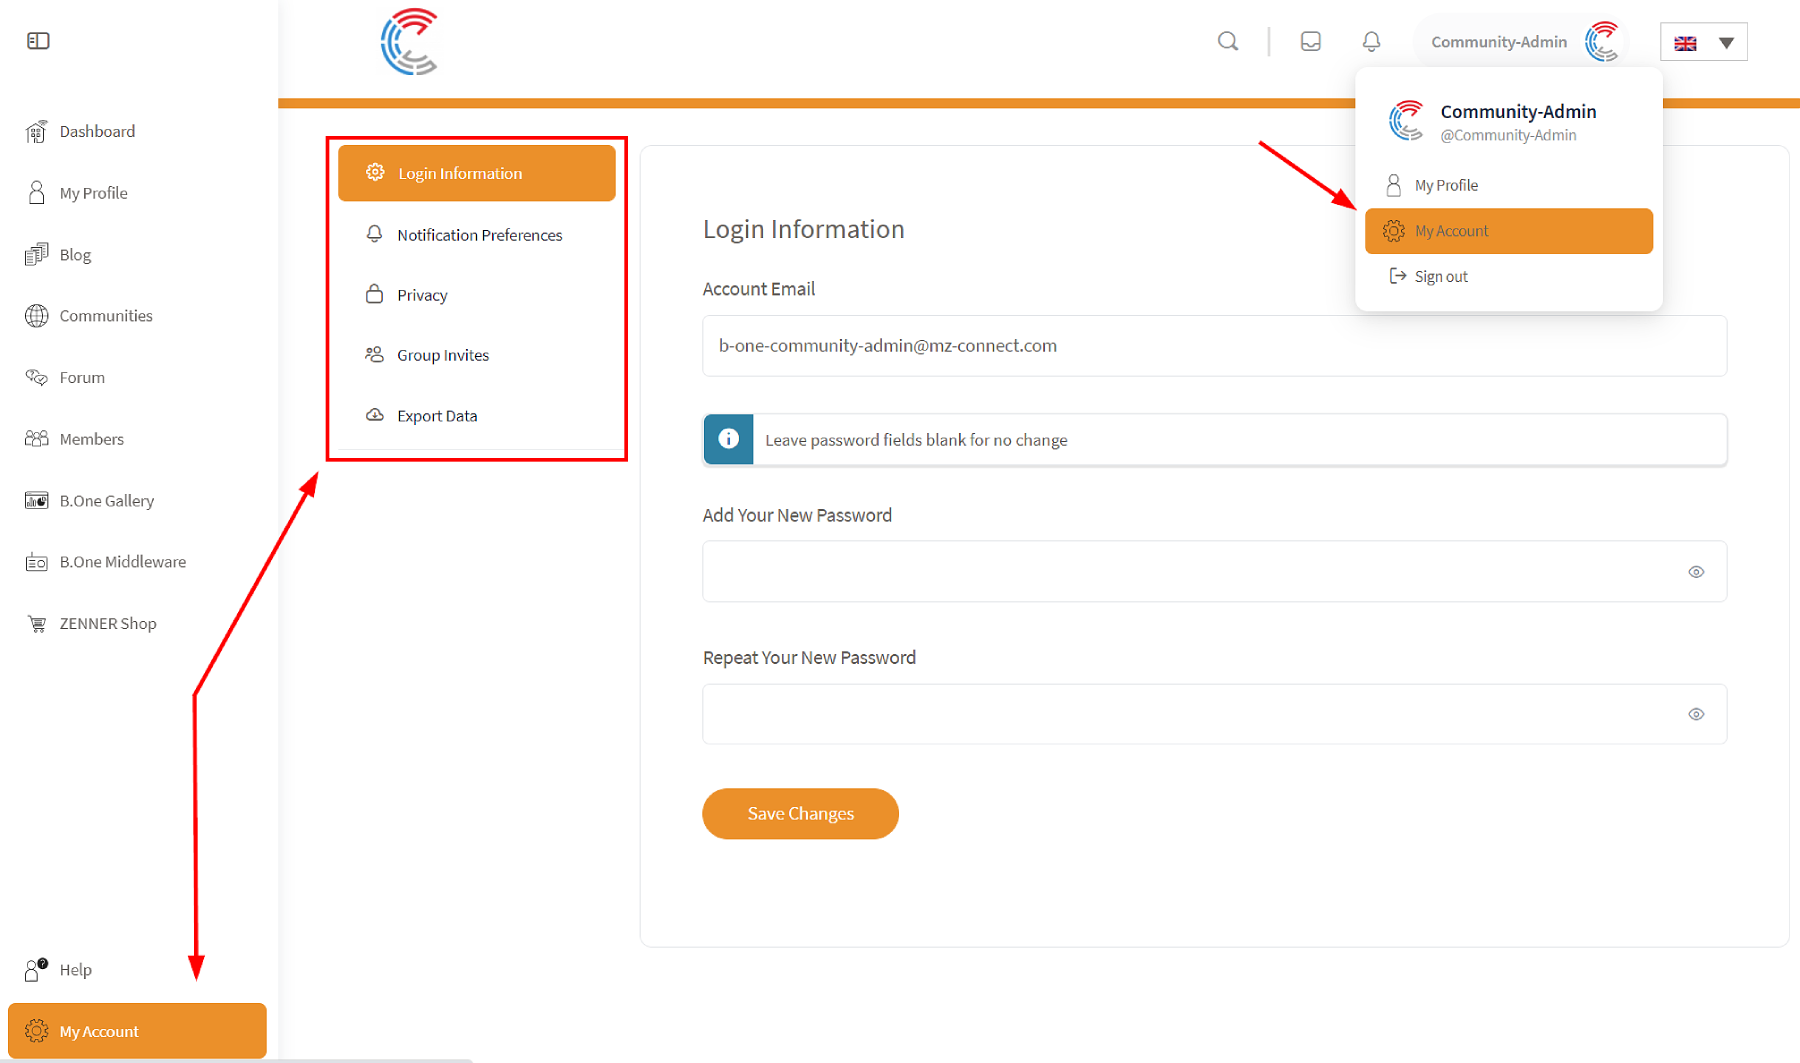
You can change your saved account email or password under “Login Information“.
Under “Notification Preferences” you can define for which activities and updates within the community you would like to receive email notifications.
Under “Privacy” you can set whether you want to show your last name on your profile in addition to your first and profile/nickname.
Under “Community Invites” you can specify whether all members may invite you to other communities or only connected members, i.e. your contacts.
And under “Export data” you can request an export of all your data published on the platform.
11. Messages & Notifications
You can access your messages and notifications via the two corresponding icons in the header at the top right (desktop) or in the burger menu at the bottom (mobile). In the case of new messages or notifications, the number of unread messages will also be displayed there. Furthermore, the first six messages as well as unread notifications are displayed here in a preview at a glance. By clicking on “Show inbox ” you get to all the messages that are displayed there in chat form as conversations. And by clicking on “Show notifications ” you will get to all received notifications. These can then be filtered according to “read” and “unread” as well as other subcategories.
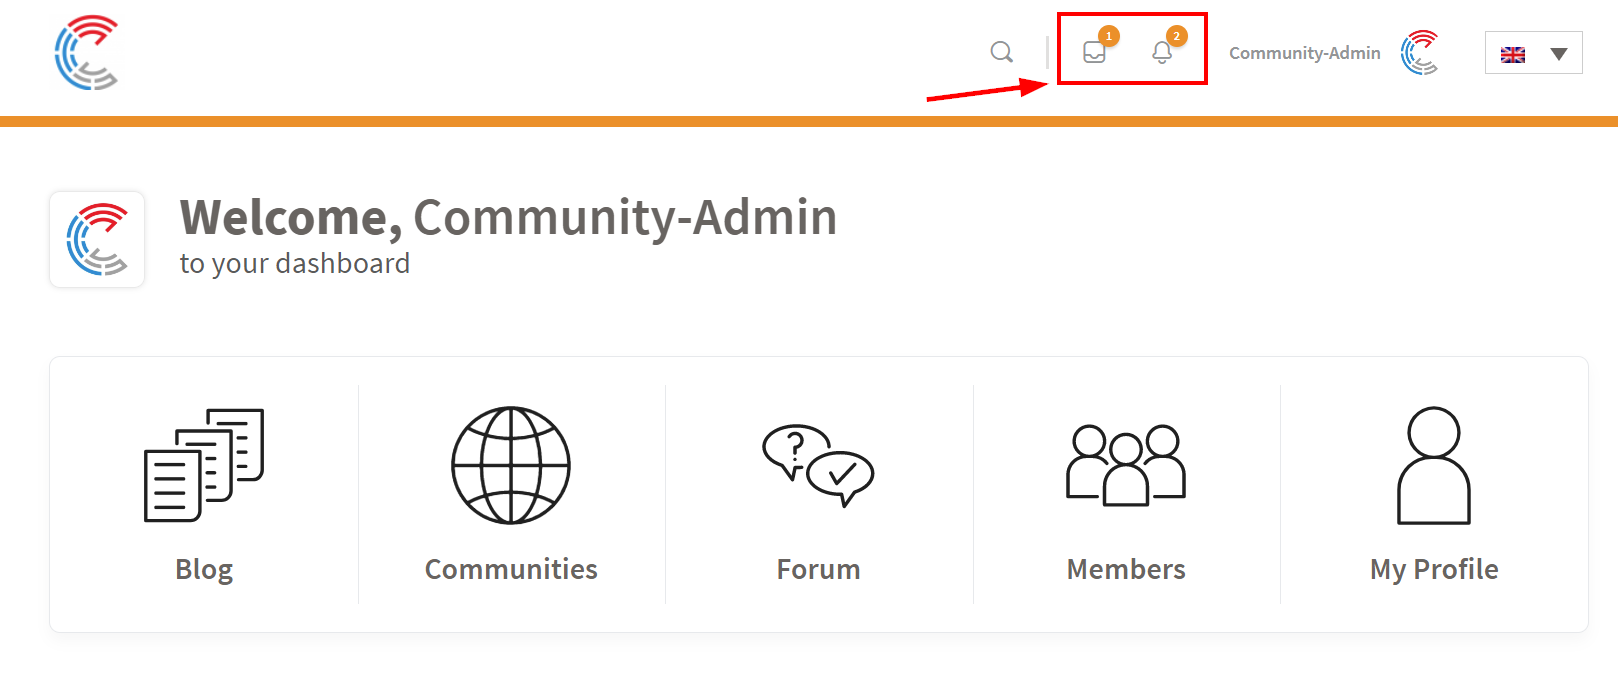
The messages are private direct messages from or to other members. In the case of notifications, on the other hand, mentions of your name on the platform, the acceptance or receipt of connection requests, recommendations for your own blog posts, comments below your own blog posts or accepted memberships for Communities. If you have accidentally marked a notification or message as read, you can simply mark it as unread again here.

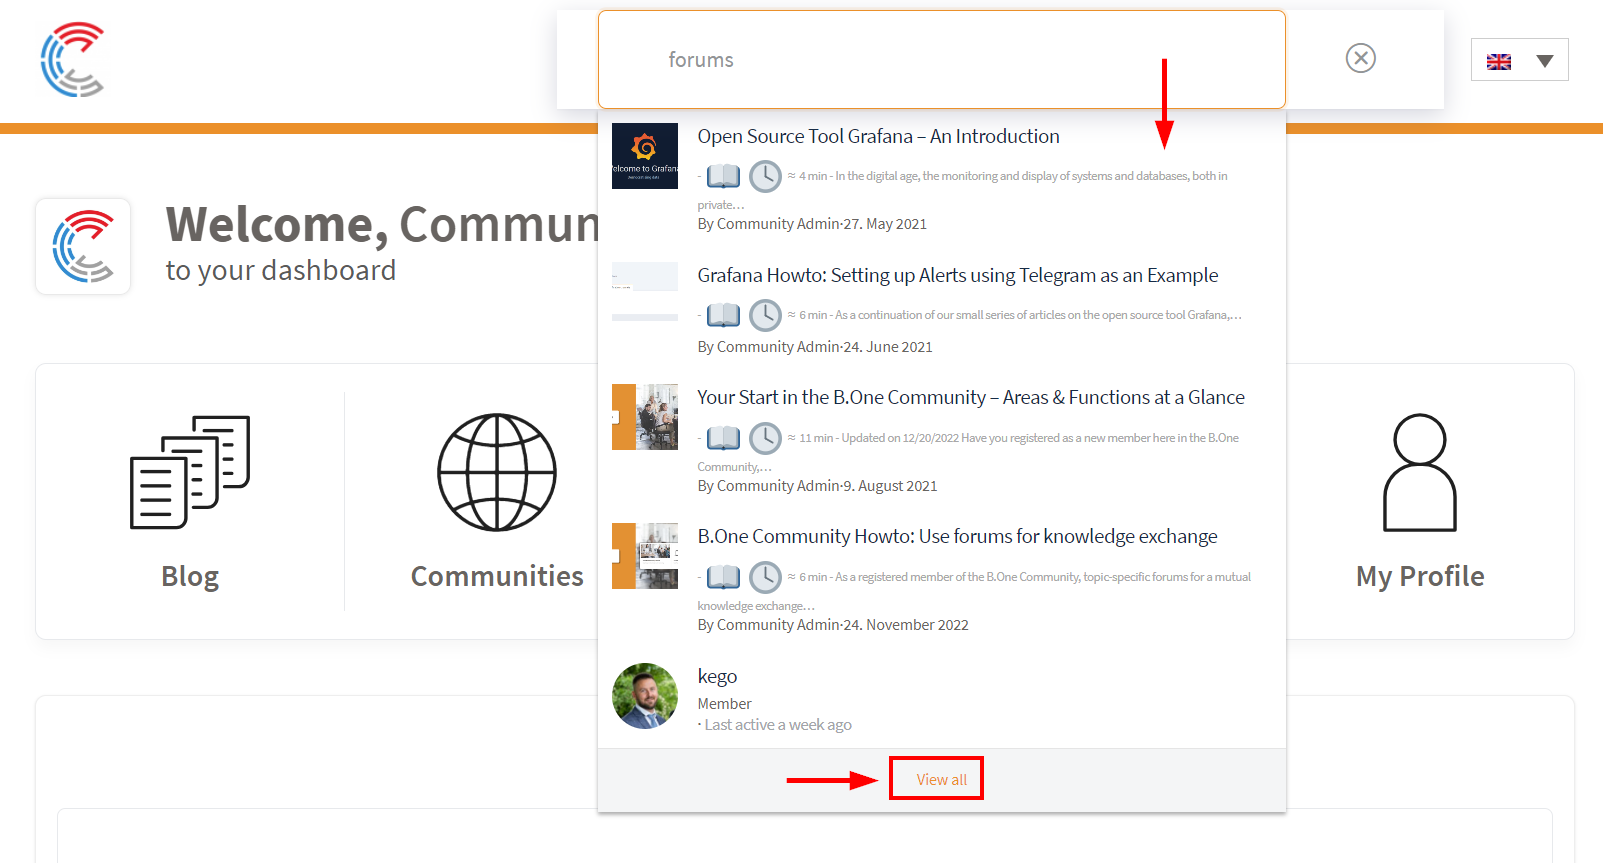
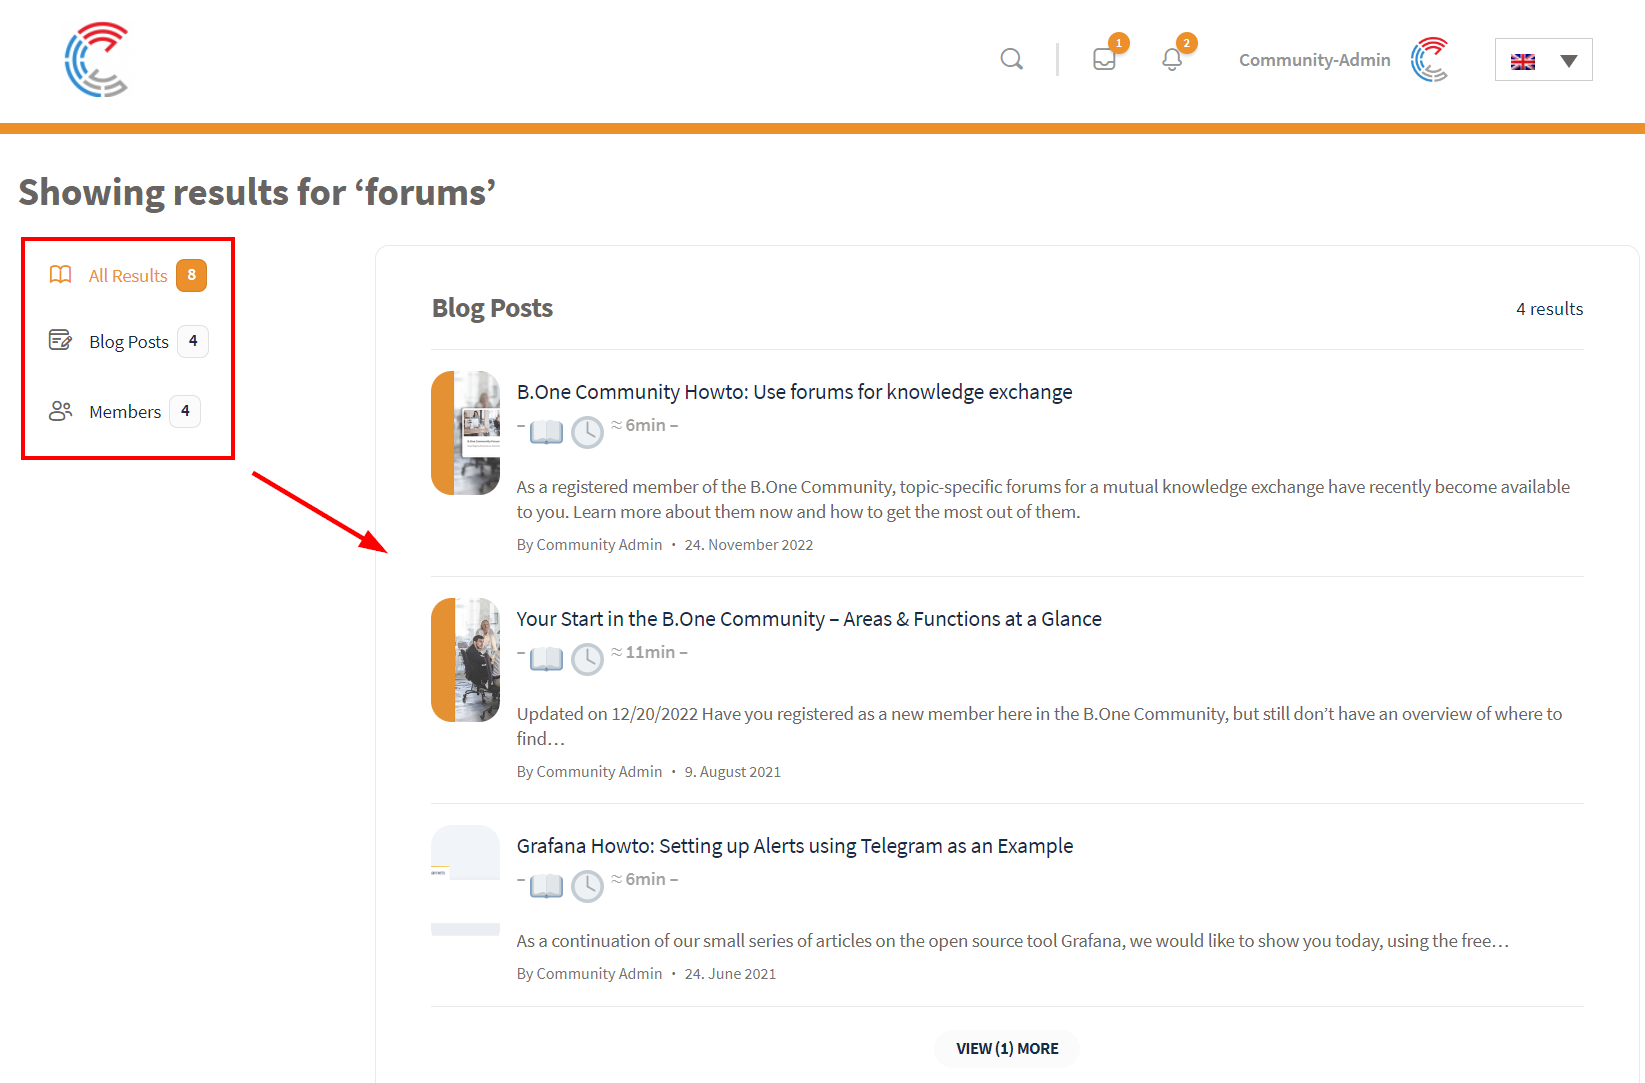
If there are more relevant search results for a term than are displayed in the preview, you can click on “View all” to display all results and filter them according to the categories just mentioned.
13. Homepage
You probably already know the Homepage. You will find a basic overview of what this Community is about and what it offers, key benefits for you as a member, the global Community Map with gateways shared by members across the web, and the latest posts from the Community blog. If you are not logged in, you will always end up on the Community when you access it. If you are logged in, you can also use the navigation on the left (desktop) or the burger menu (mobile).
Now you have a comprehensive overview of the areas and functions of the B.One Community and can get started! Do you have any questions, requests for improvement or other suggestions? Then please leave a comment or send us a message using the contact form.


Responses