Ideal Mounting Location for IoT Gateway using the Example of the ZENNER GatewayPLUS SMART
Last modified on 11th April, 2024
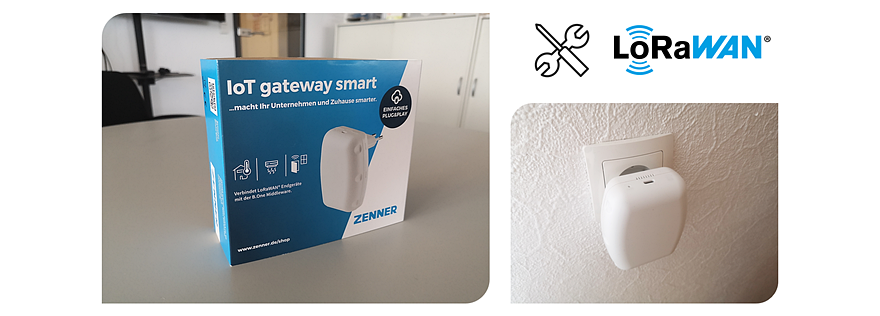
In addition to the article about the Zenner GatewayPLUS SMART by our Community Admin, I am sharing my experiences with you about the right installation location. In further articles I will also go into the GatewayPLUS Indoor and the GatewayPLUS Outdoor.
What should generally be considered when setting up the GatewayPLUS Smart?
On the one hand, your GatewayPLUS Smart needs a WiFi connection to communicate with the ZENNER Datahub and on the other hand, all your sensors should be able to communicate with the gateway via your LoRaWAN®.
What is the ideal Location?
The simplest variant is when you can establish a “line of sight” between your sensor and the GatewayPLUS Smart. Distances of several kilometers are then possible. As soon as the signal has to overcome damping elements, the range is reduced. Realistic indoor distances are between 15 and 30 meters.
What are dampening elements?
Every element between a sensor and the GatewayPLUS Smart attenuates the LoRaWAN® signal. This includes, for example, walls, ceilings, floors, windows and doors. Depending on the nature of the element, the signal is attenuated to a greater or lesser extent. For example, a masonry wall will dampen less than a concrete wall, which may have steel reinforcement in it.
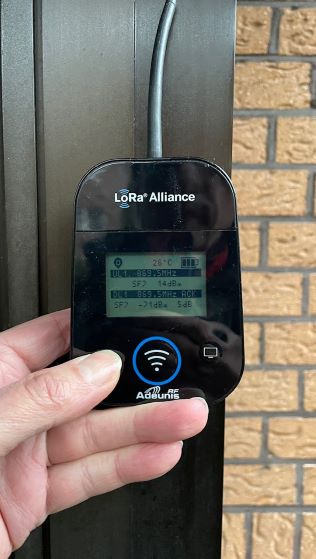
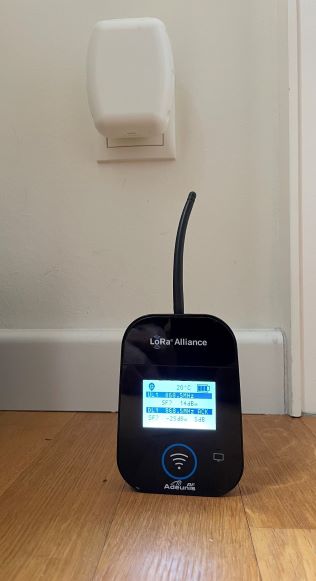
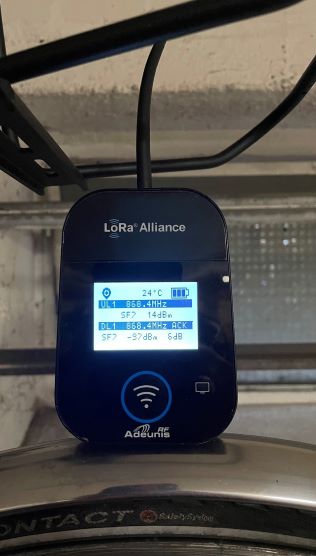
Real life examples, the GatewaySMART Plus is located on the 4th floor within an apartment:
How do you find the ideal Location/Installation Site?
My first approach to the installation location of the GatewayPLUS Smart is always to look up, i.e. where is the highest point where installation would be possible? Do I have the option of power supply there, stable WiFi and can my sensors communicate with the Gateway Smart installed there? Put simply, you do it like this: Your sensors are attached to the outside – then find a place under the roof or by the window for the GatewayPLUS Smart. The sensors are inside a building – then try to find a spot in the center between the sensors.
How can I test whether the Location is suitable for the Gateway Smart?
Personally, I use the Adeunis Field Test Device for this. The test device gives you the ability to send and receive LoRa packets and displays the results on an LCD display. From the results that you record at the locations of your sensors, you can derive whether the location of the GatewayPLUS Smart is suitable. Unfortunately, the purchase of the Field Test Device is only worthwhile for users who use the device regularly. For starters, you can also simply use one of your sensors to test your LoRa network and thus determine the location for your GatewayPLUS Smart. In the majority of cases, the location of the sensors will be fixed. So you can find the optimal location for your Gateway Smart within the WiFi and power supply parameters.
Here again are the most important factors for selecting the location for your GatewayPLUS Smart:
• You must select the mounting location for your Gateway Smart in an area in which a stable WiFi (802.11 b/g/n, in the frequency band: 2.4 GHz) signal is available.
• Power is supplied via a 230V socket. Alternatively, the supply is also possible via USB-C (900mA). So you can also operate the gateway on the go with a power bank, for example to determine the best installation location. Operation is also possible with a USB plug-in power supply
• Your sensors must be within the reception area of the Gateway Smart.
Examples of possible ranges with the GatewayPLUS Smart
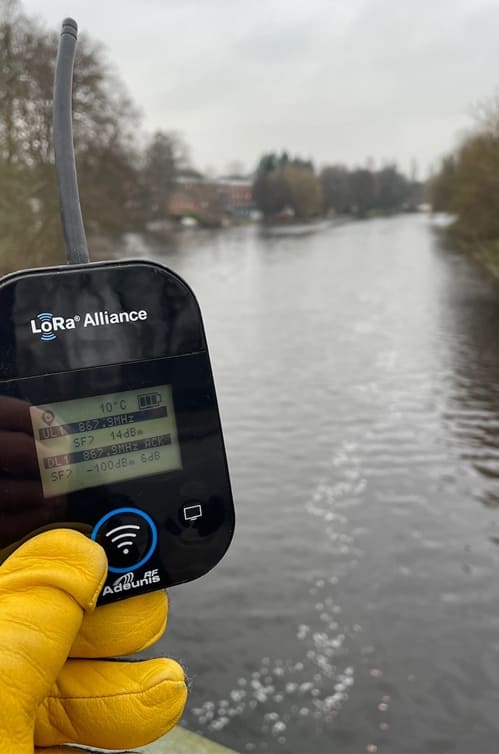
The tester is about 500m away from the gateway as the crow flies, the levels are very good
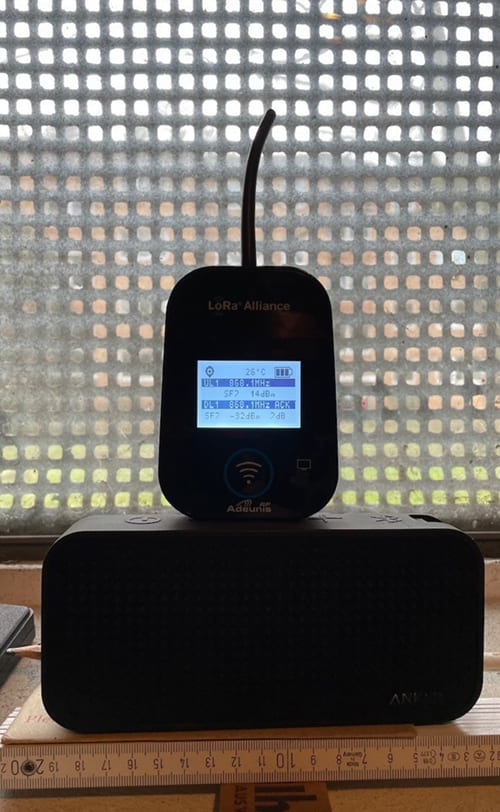
Level in the basement, about 25 m from the gateway
Sven described in an article how to put your GatewayPLUS Smart into operation.
In the next article I will go into more detail about the GatewayPLUS Indoor. Until then, good luck with your LoRaWAN® project.
Recommend0 recommendationsPublished in Gateways


Responses